
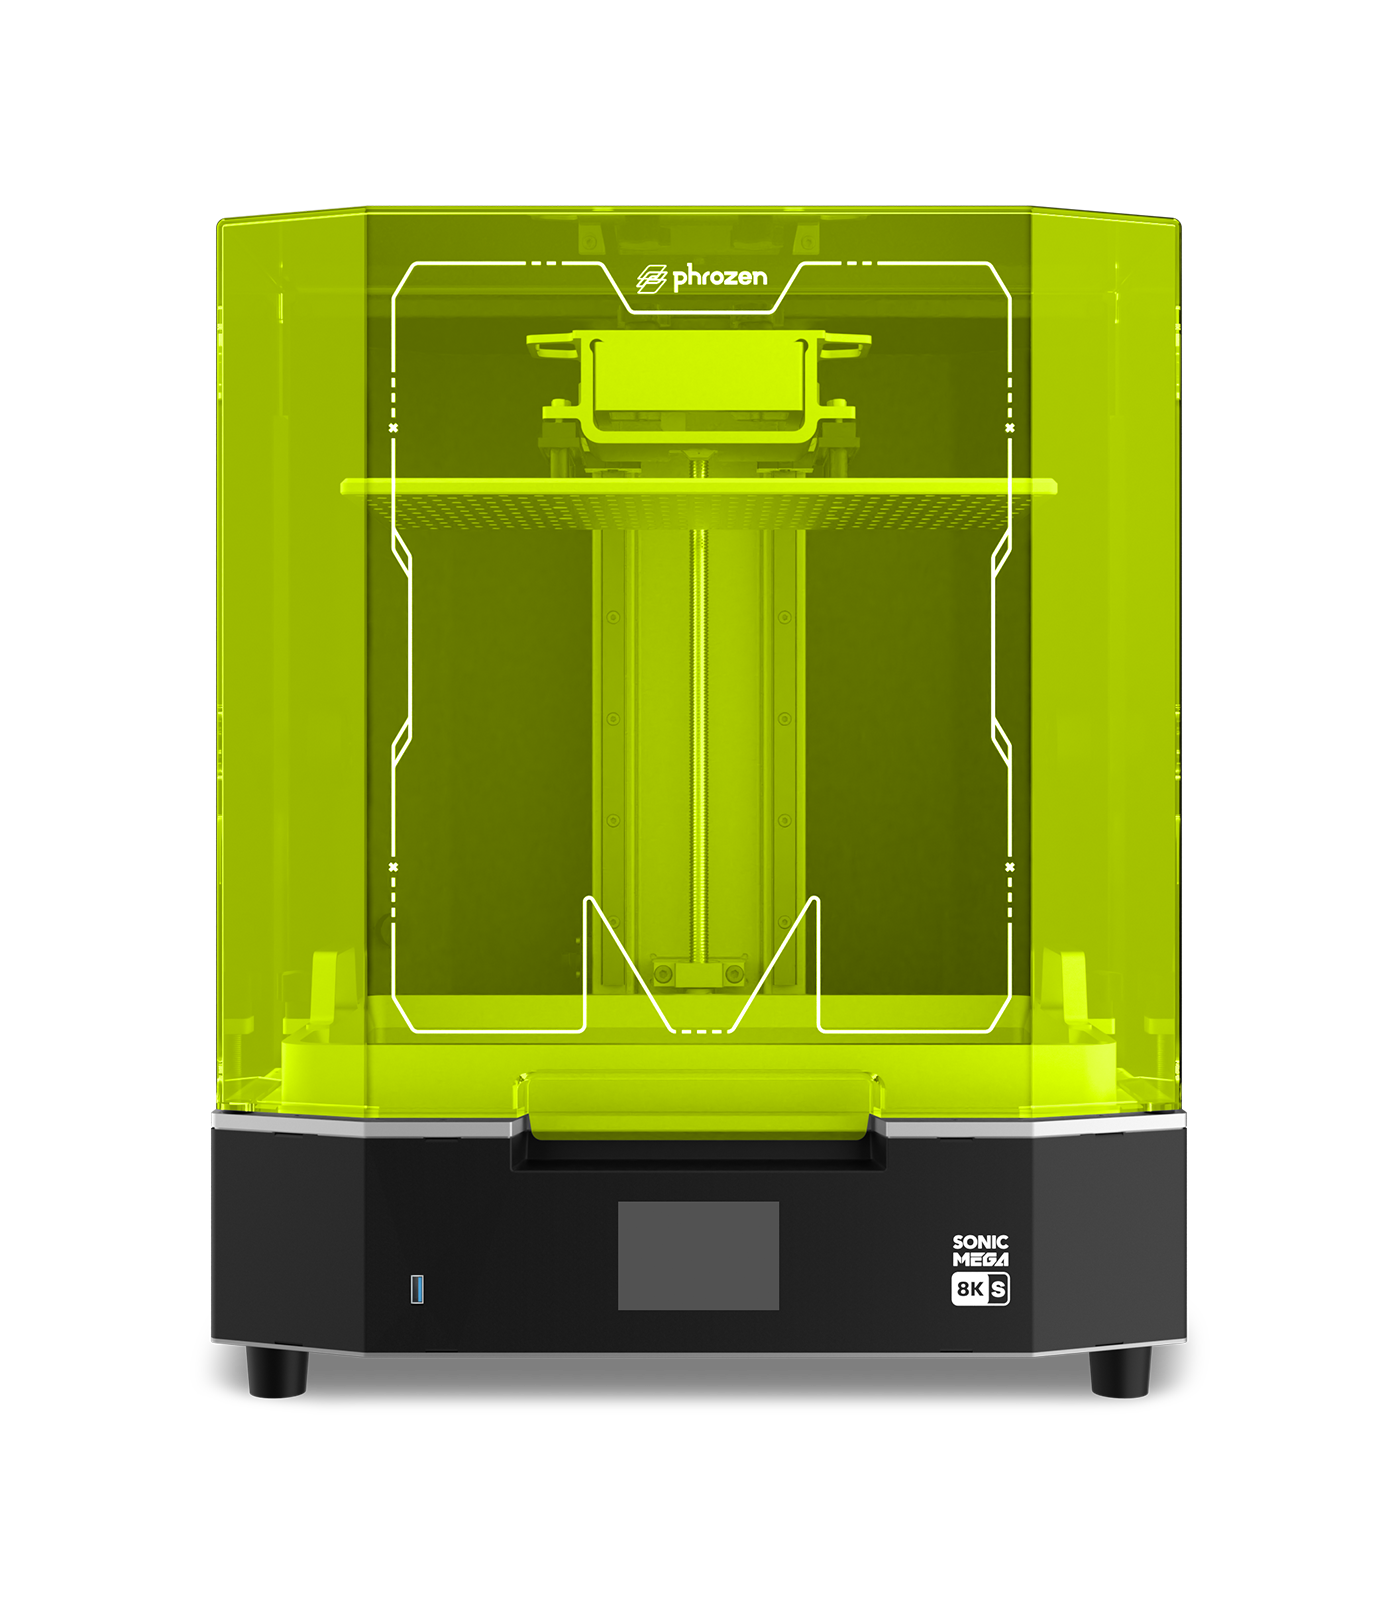
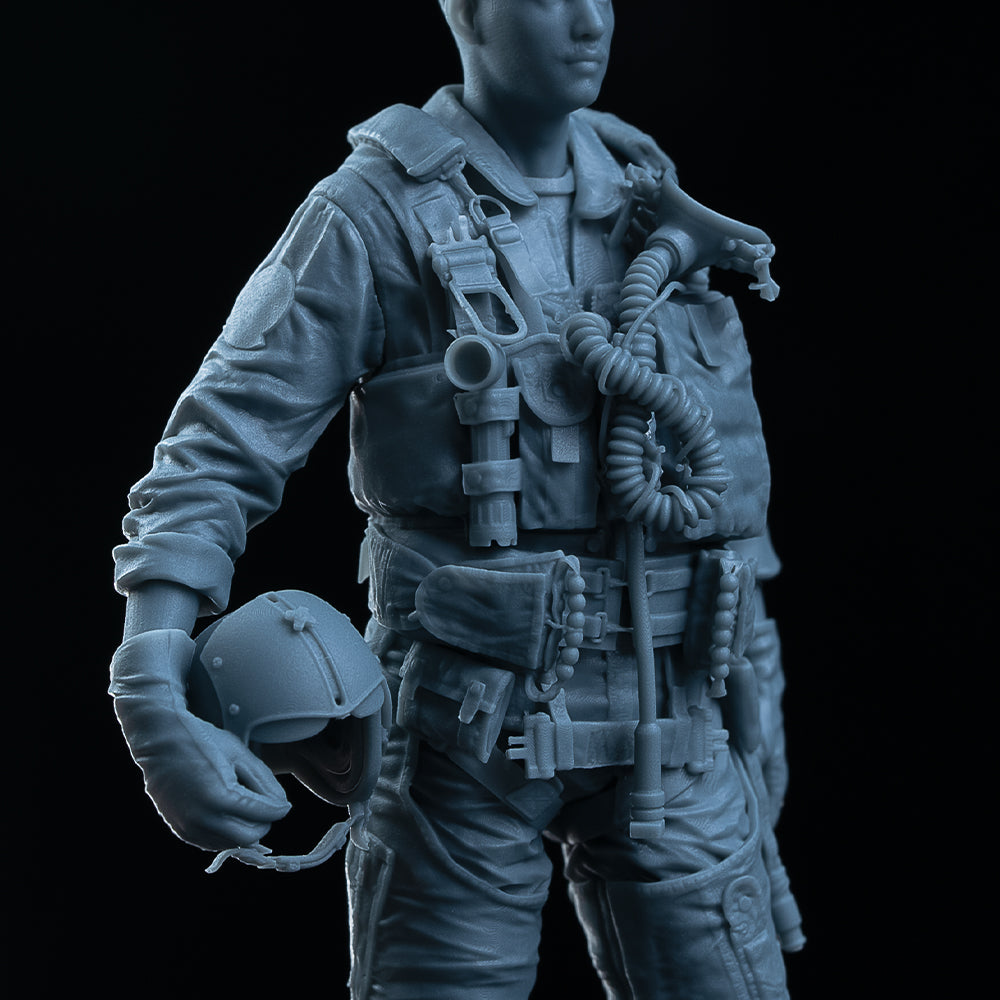
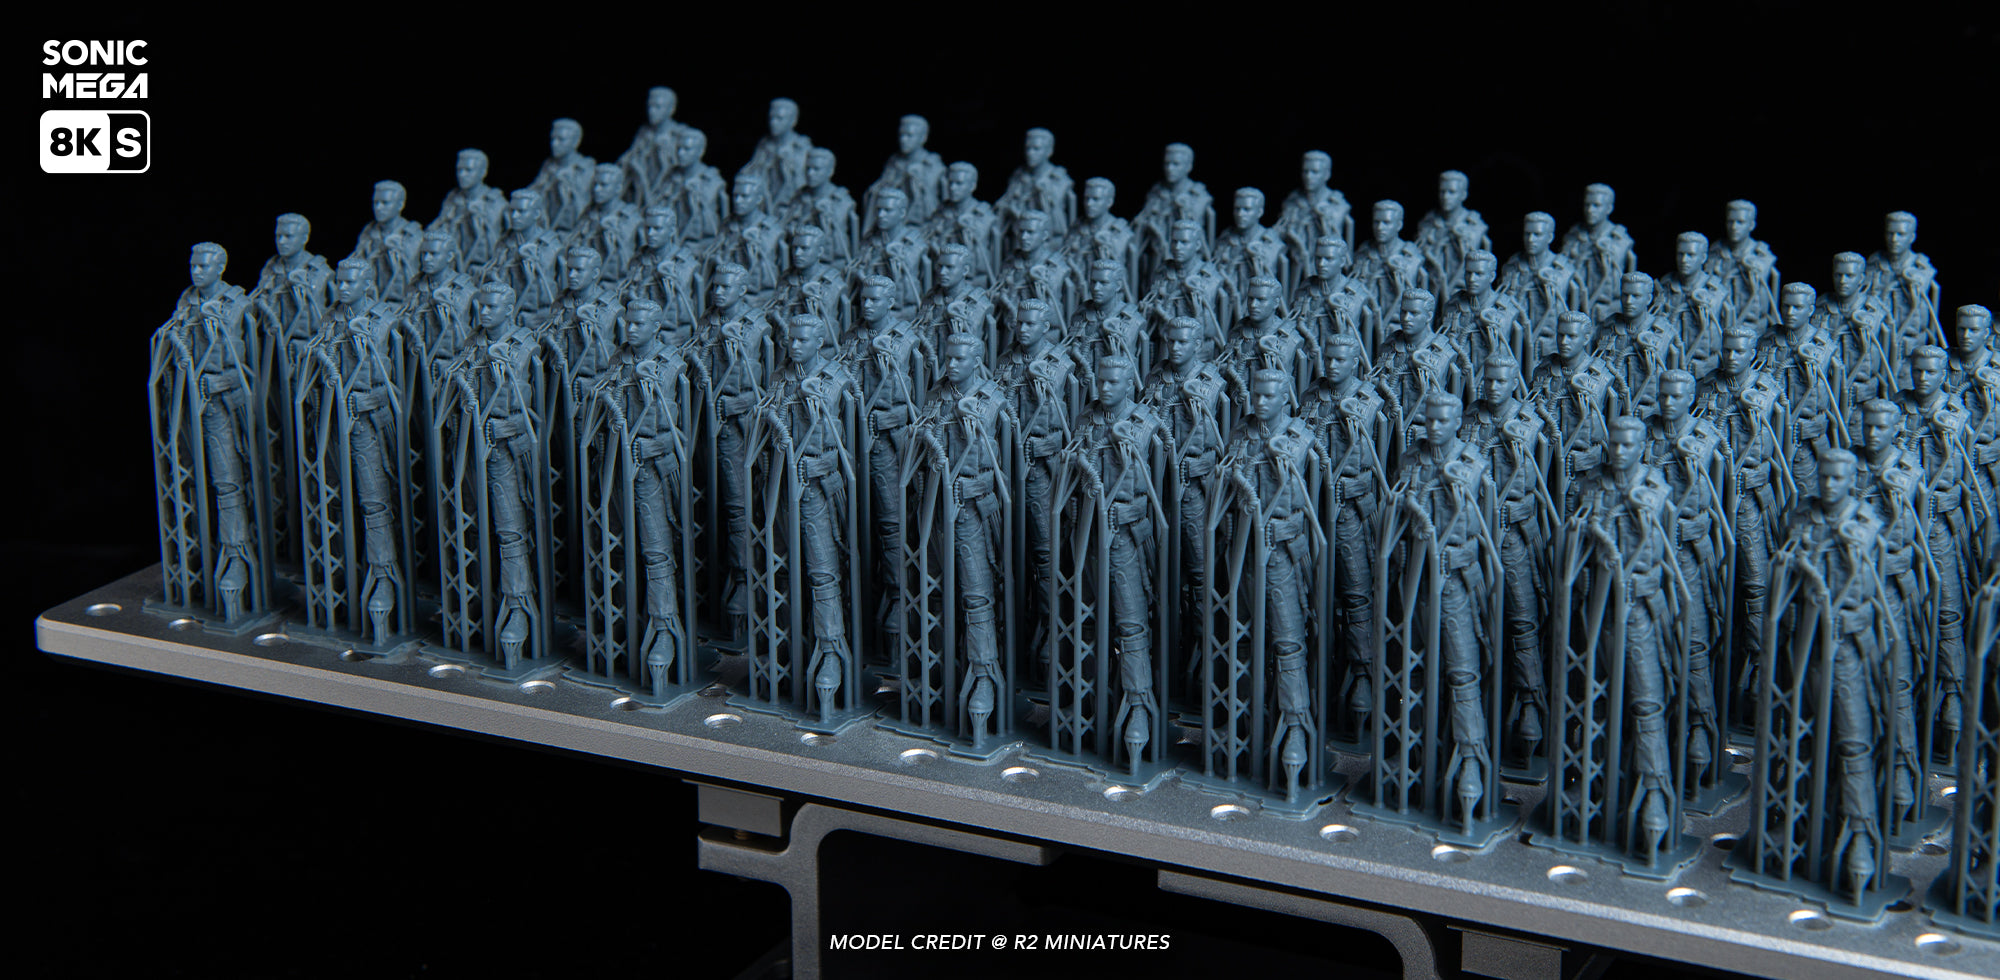
Phrozen Sonic Mega 8K S
Introducing the Phrozen Sonic Mega 8K S – a high-speed 3D printer optimized for mass production. With a remarkable 400 layers per hour printing speed and a generous 15" printing area, it's your gateway to enhanced efficiency and productivity in large-scale manufacturing. Elevate your production process with the Phrozen Sonic Mega 8K S.


Faster Printing
Produce models of superior 8K resolution swiftly and reliably, courtesy of the latest mainboard and advanced ACF film technology.

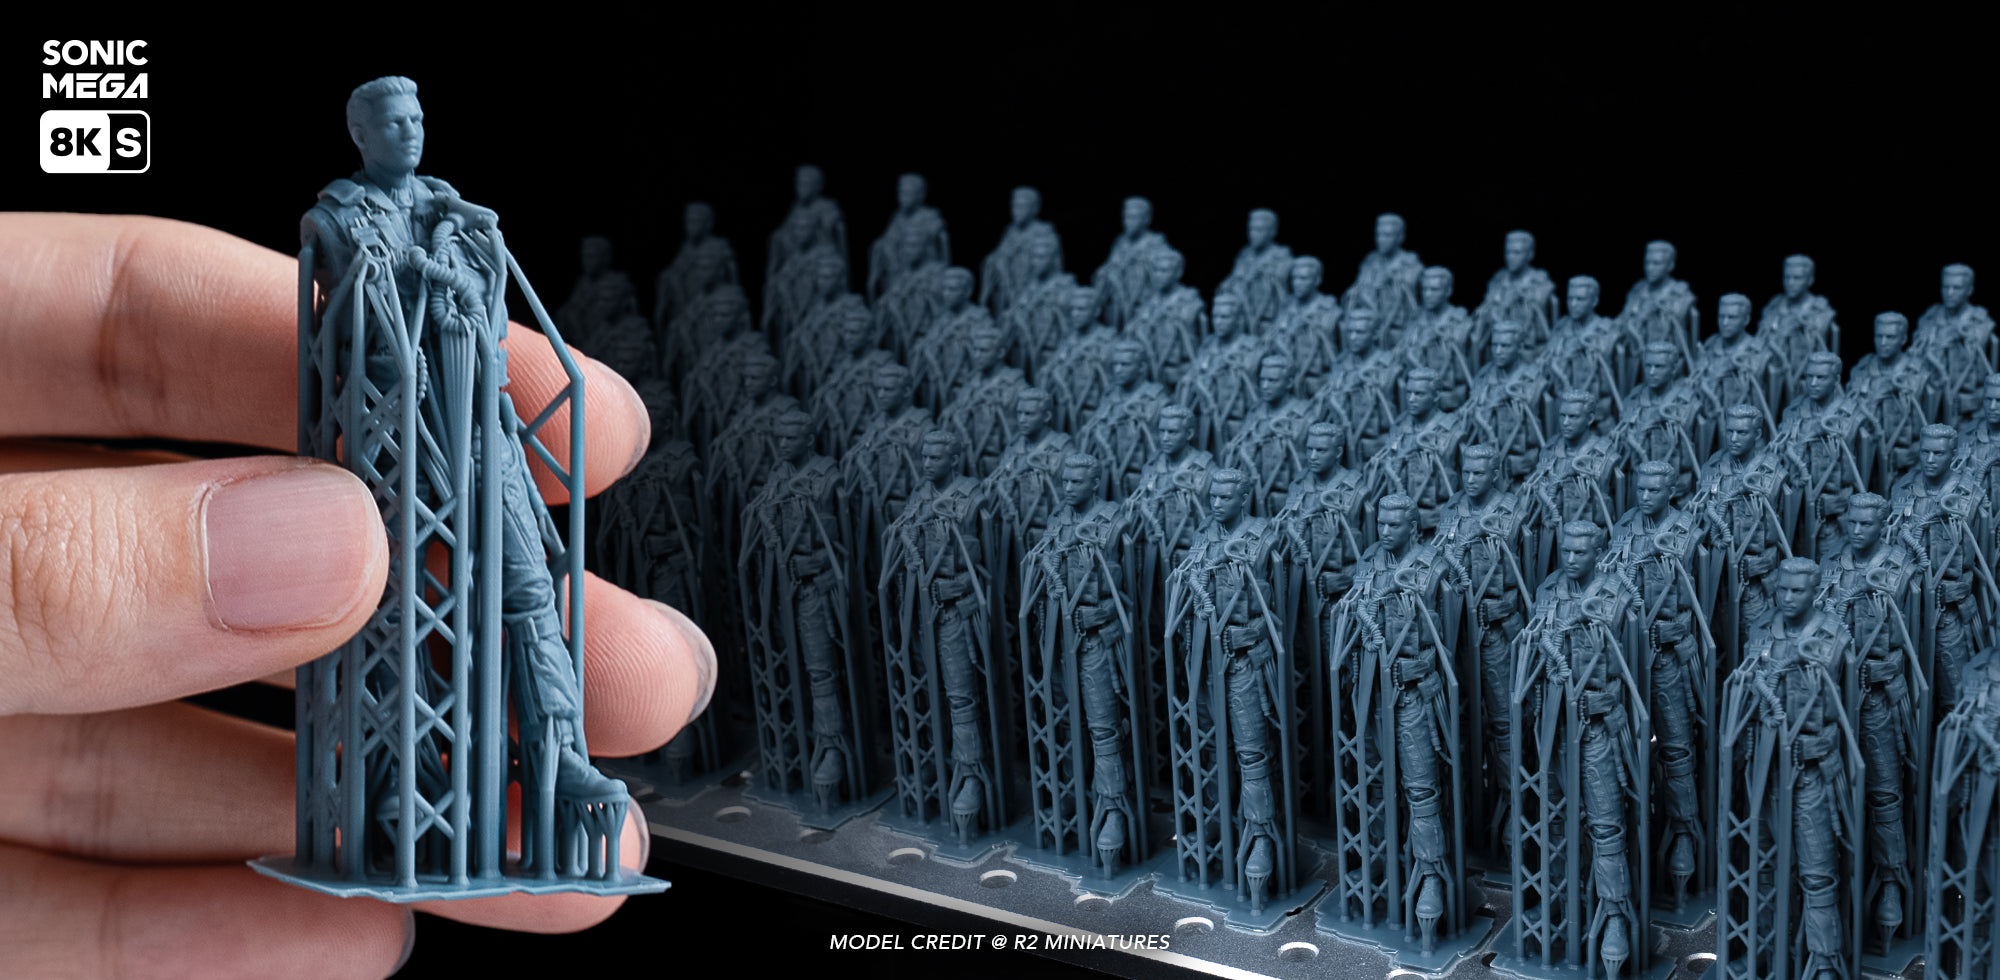
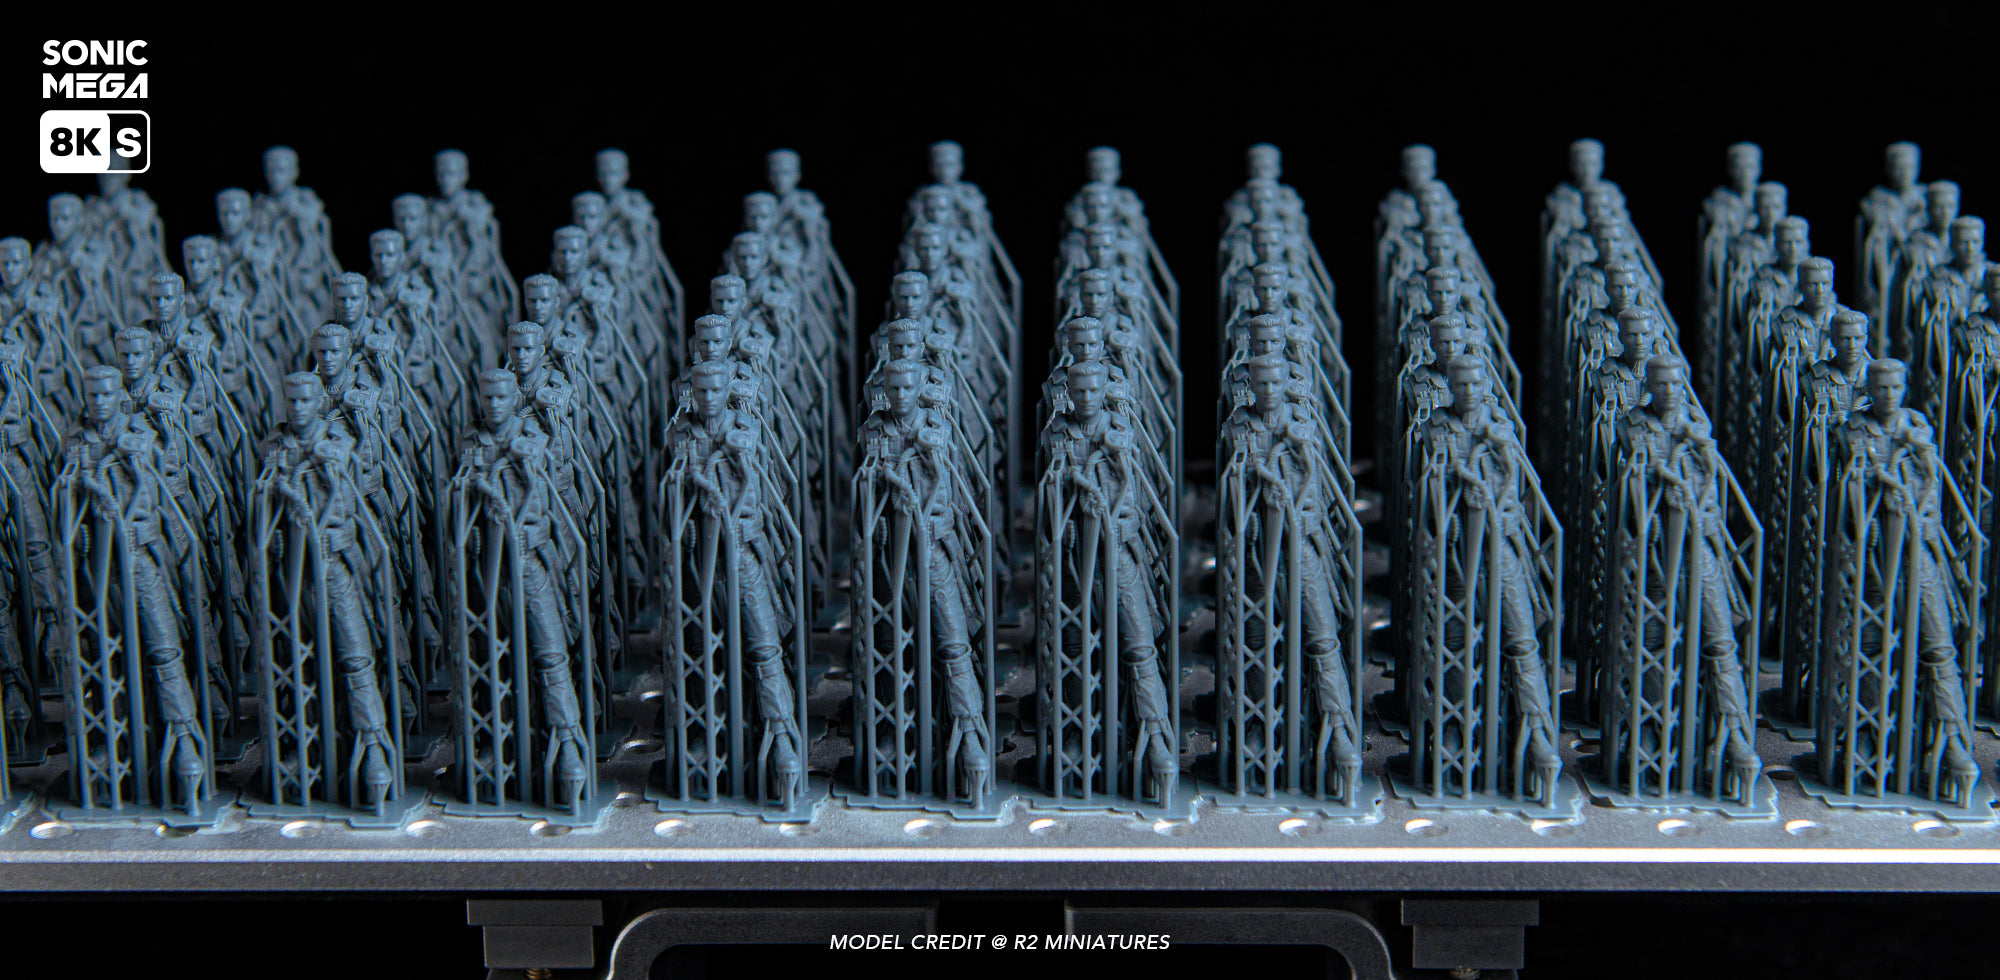
Higher Productivity
Greatly boost printing efficiency by creating a considerable volume of models at one go, thanks to the 15-inch build plate.
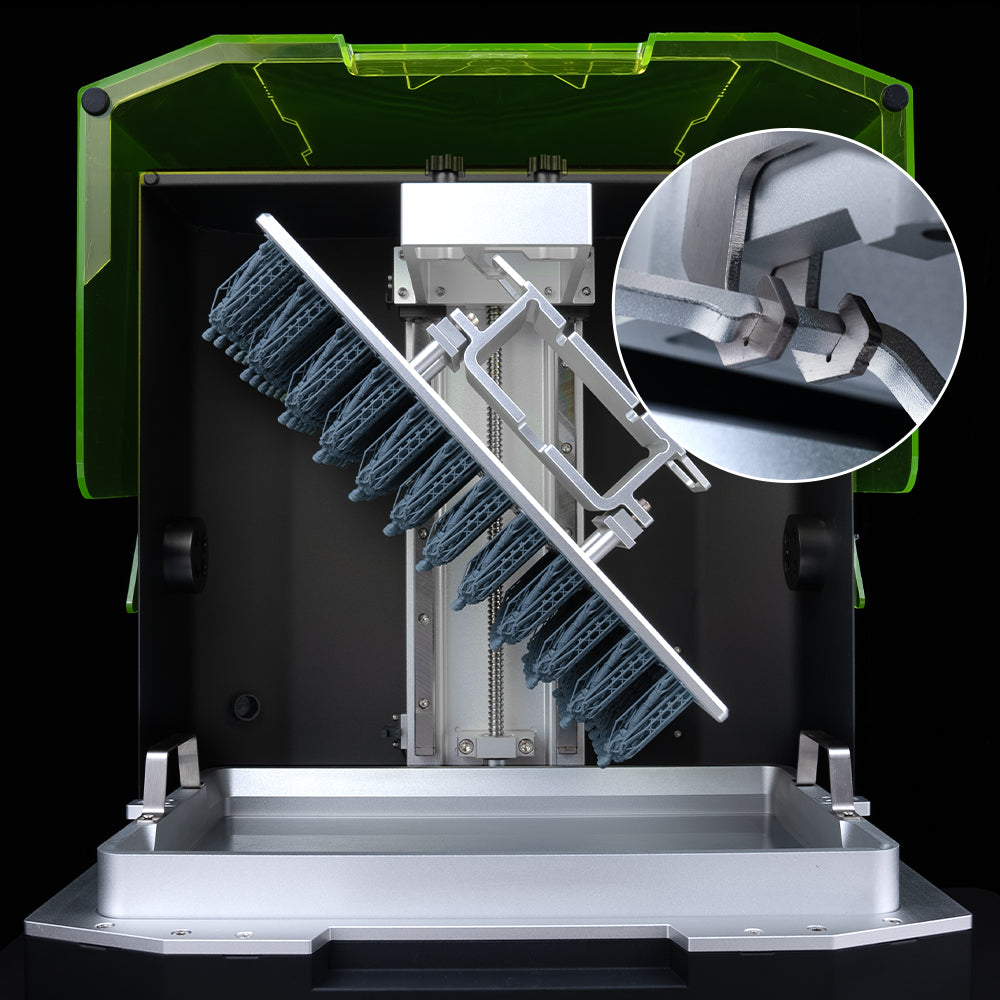

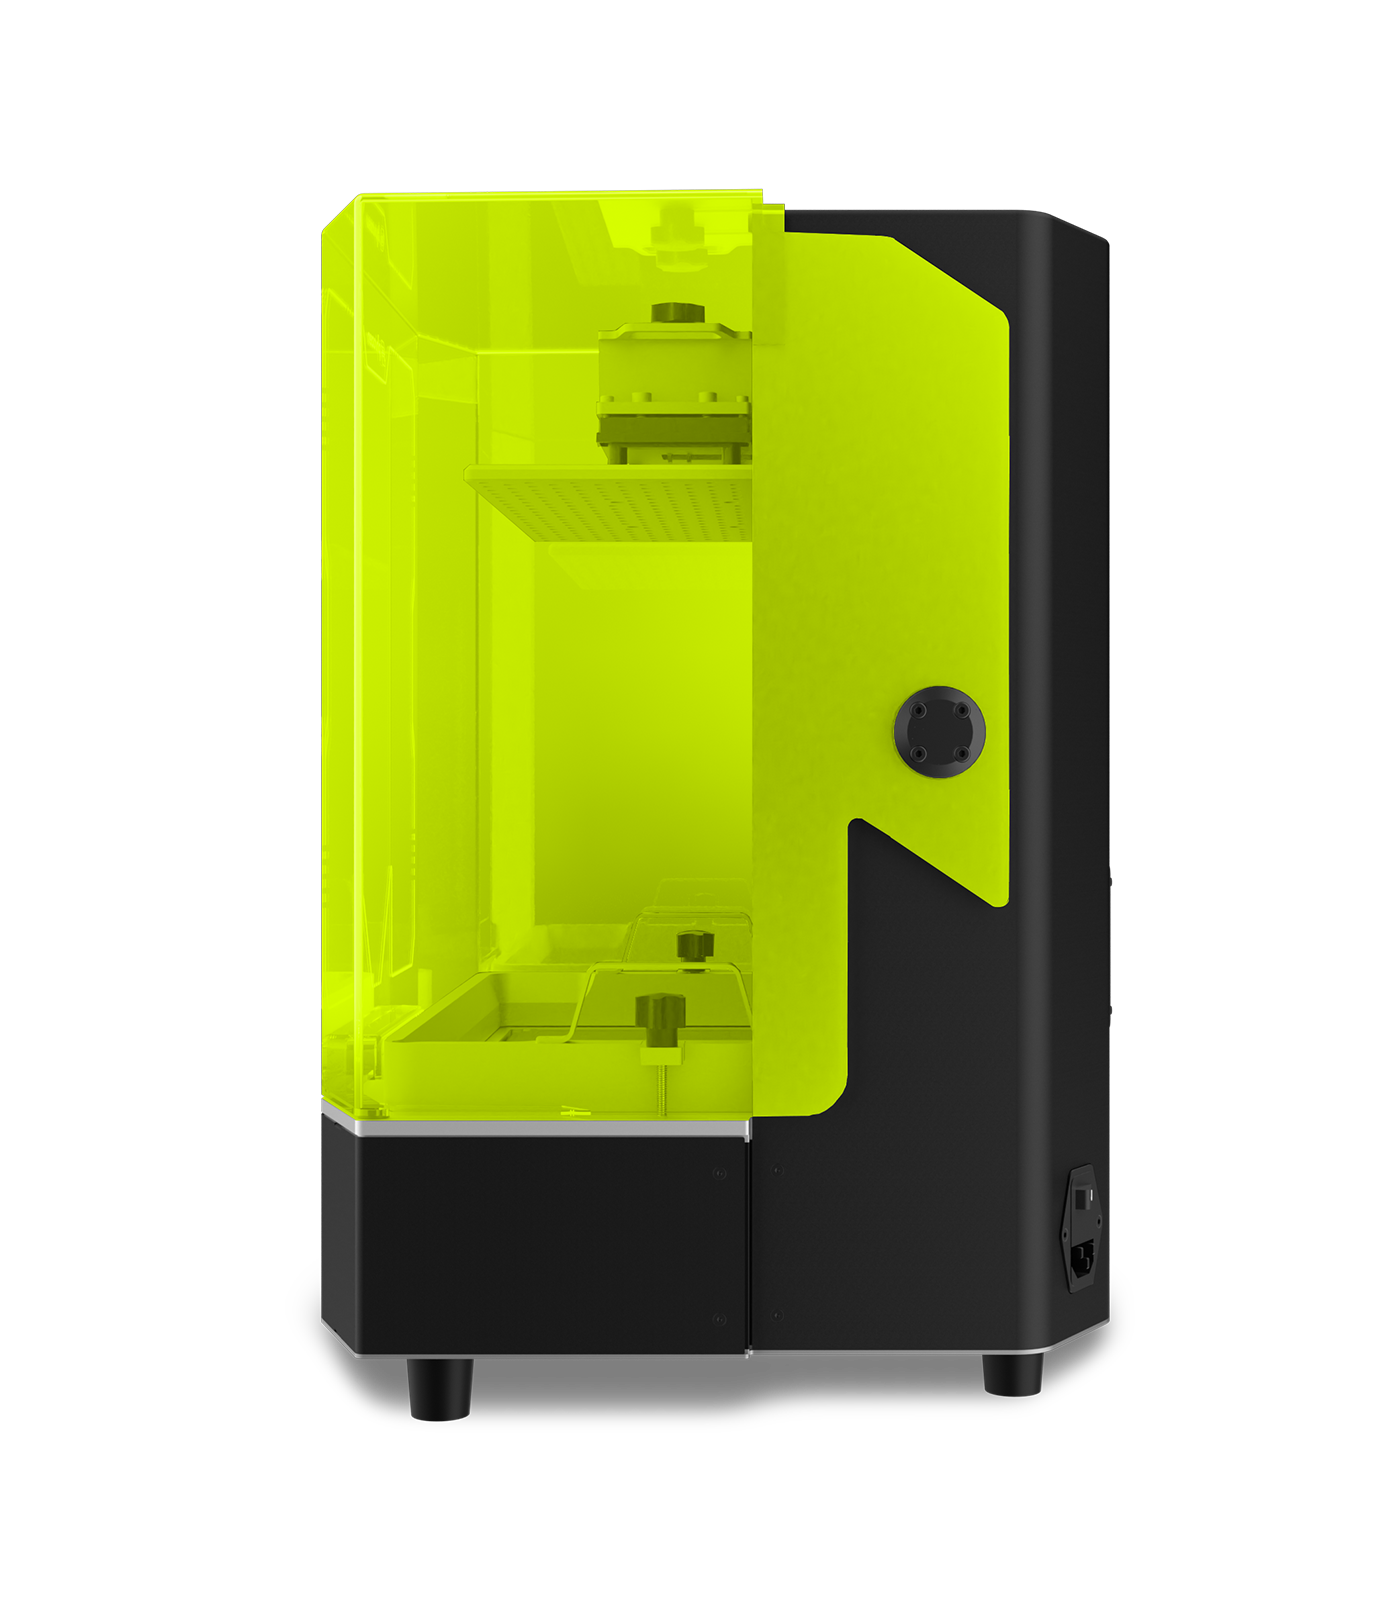
Resin Drip Hanger
The Mega 8K S comes with an integrated Resin Drip Hanger for suspending the build plate post-printing. This feature minimizes resin waste by enabling surplus resin to drip back into the vat, simplifying cleaning and enhancing user convenience.
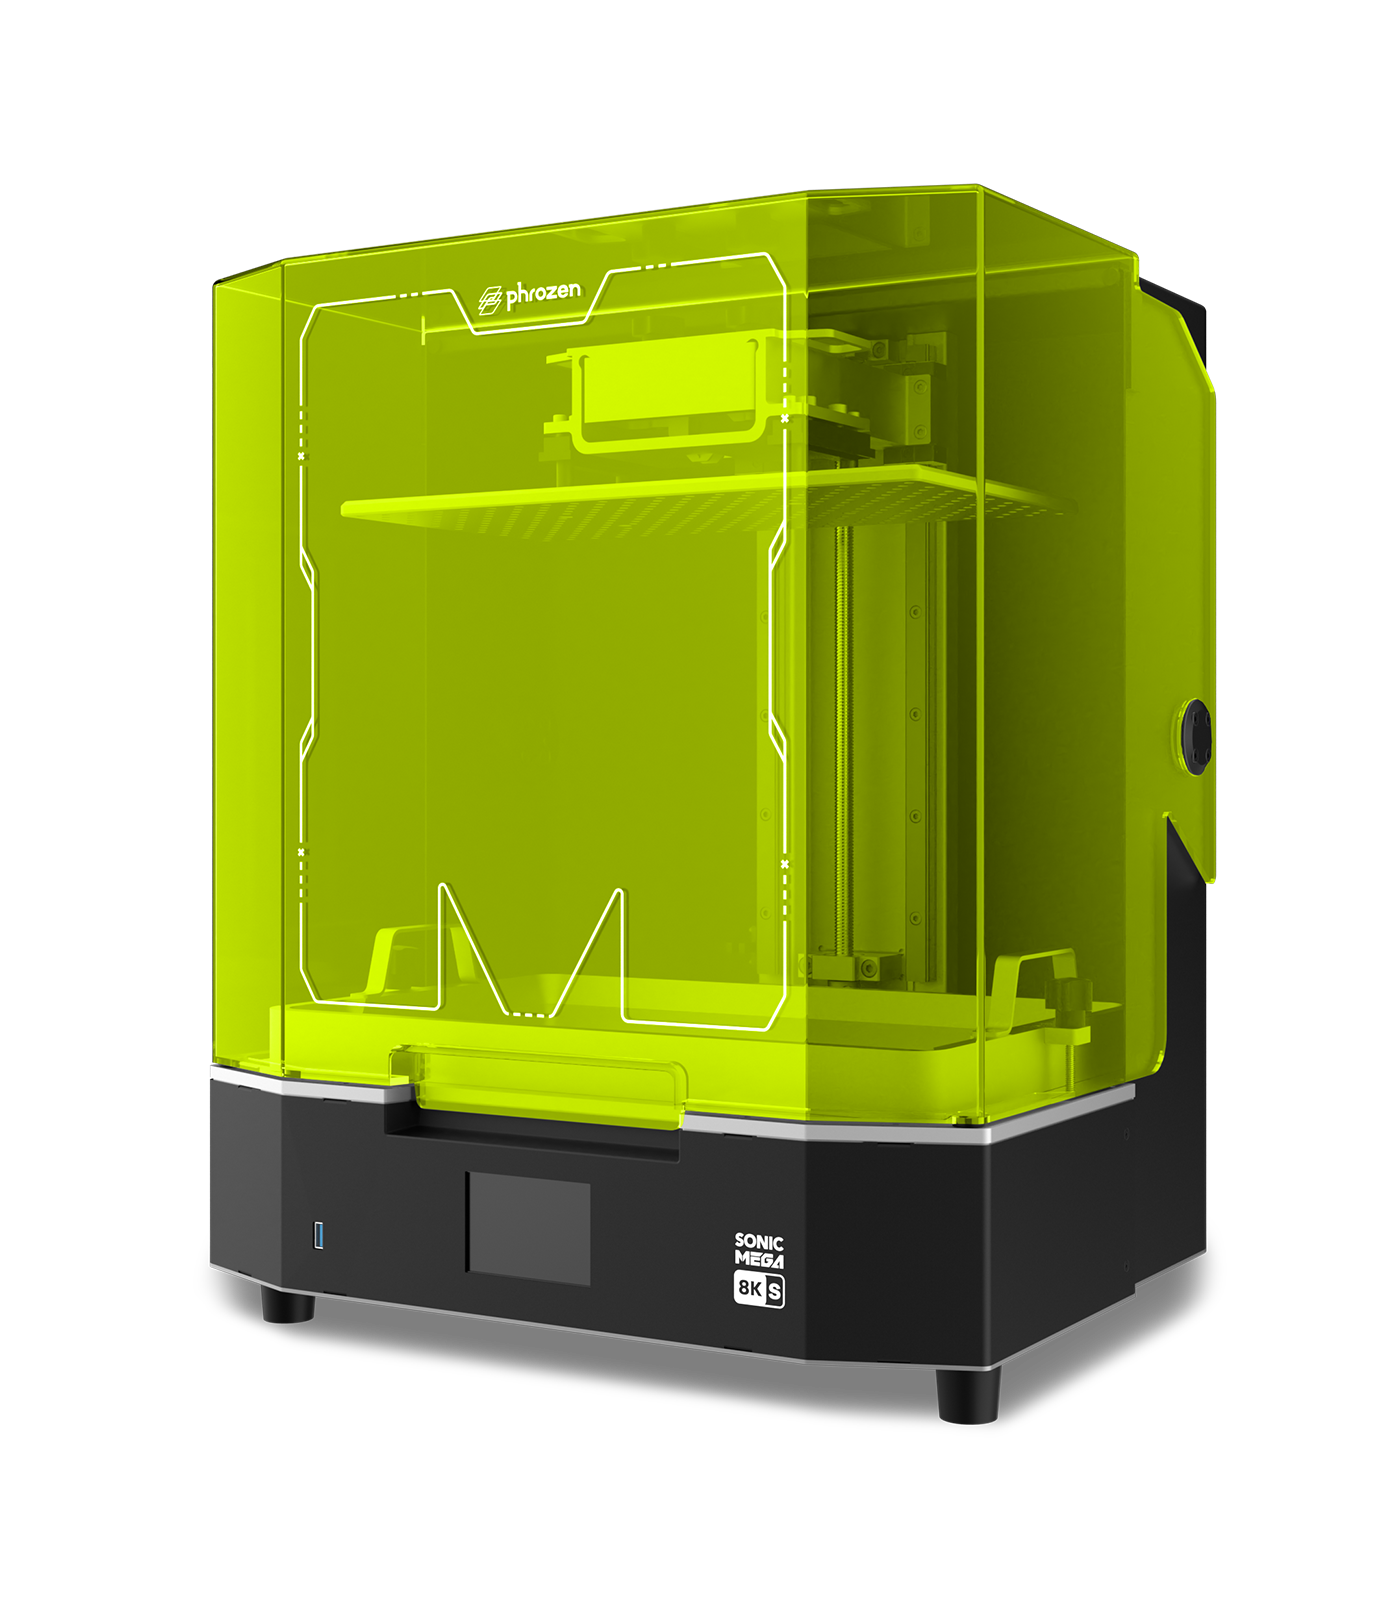
Mega 8K S vs Mighty 8K
Step into the future with the Phrozen Sonic Mega 8K S, delivering lightning-fast speed and unparalleled precision, setting a new standard beyond the acclaimed Phrozen Mighty 8K.
Phrozen Sonic Mega 8K S Specs
405nm ParaLED® Matrix 3.0
43 μm
0.01-0.30 mm
400 layers / hr
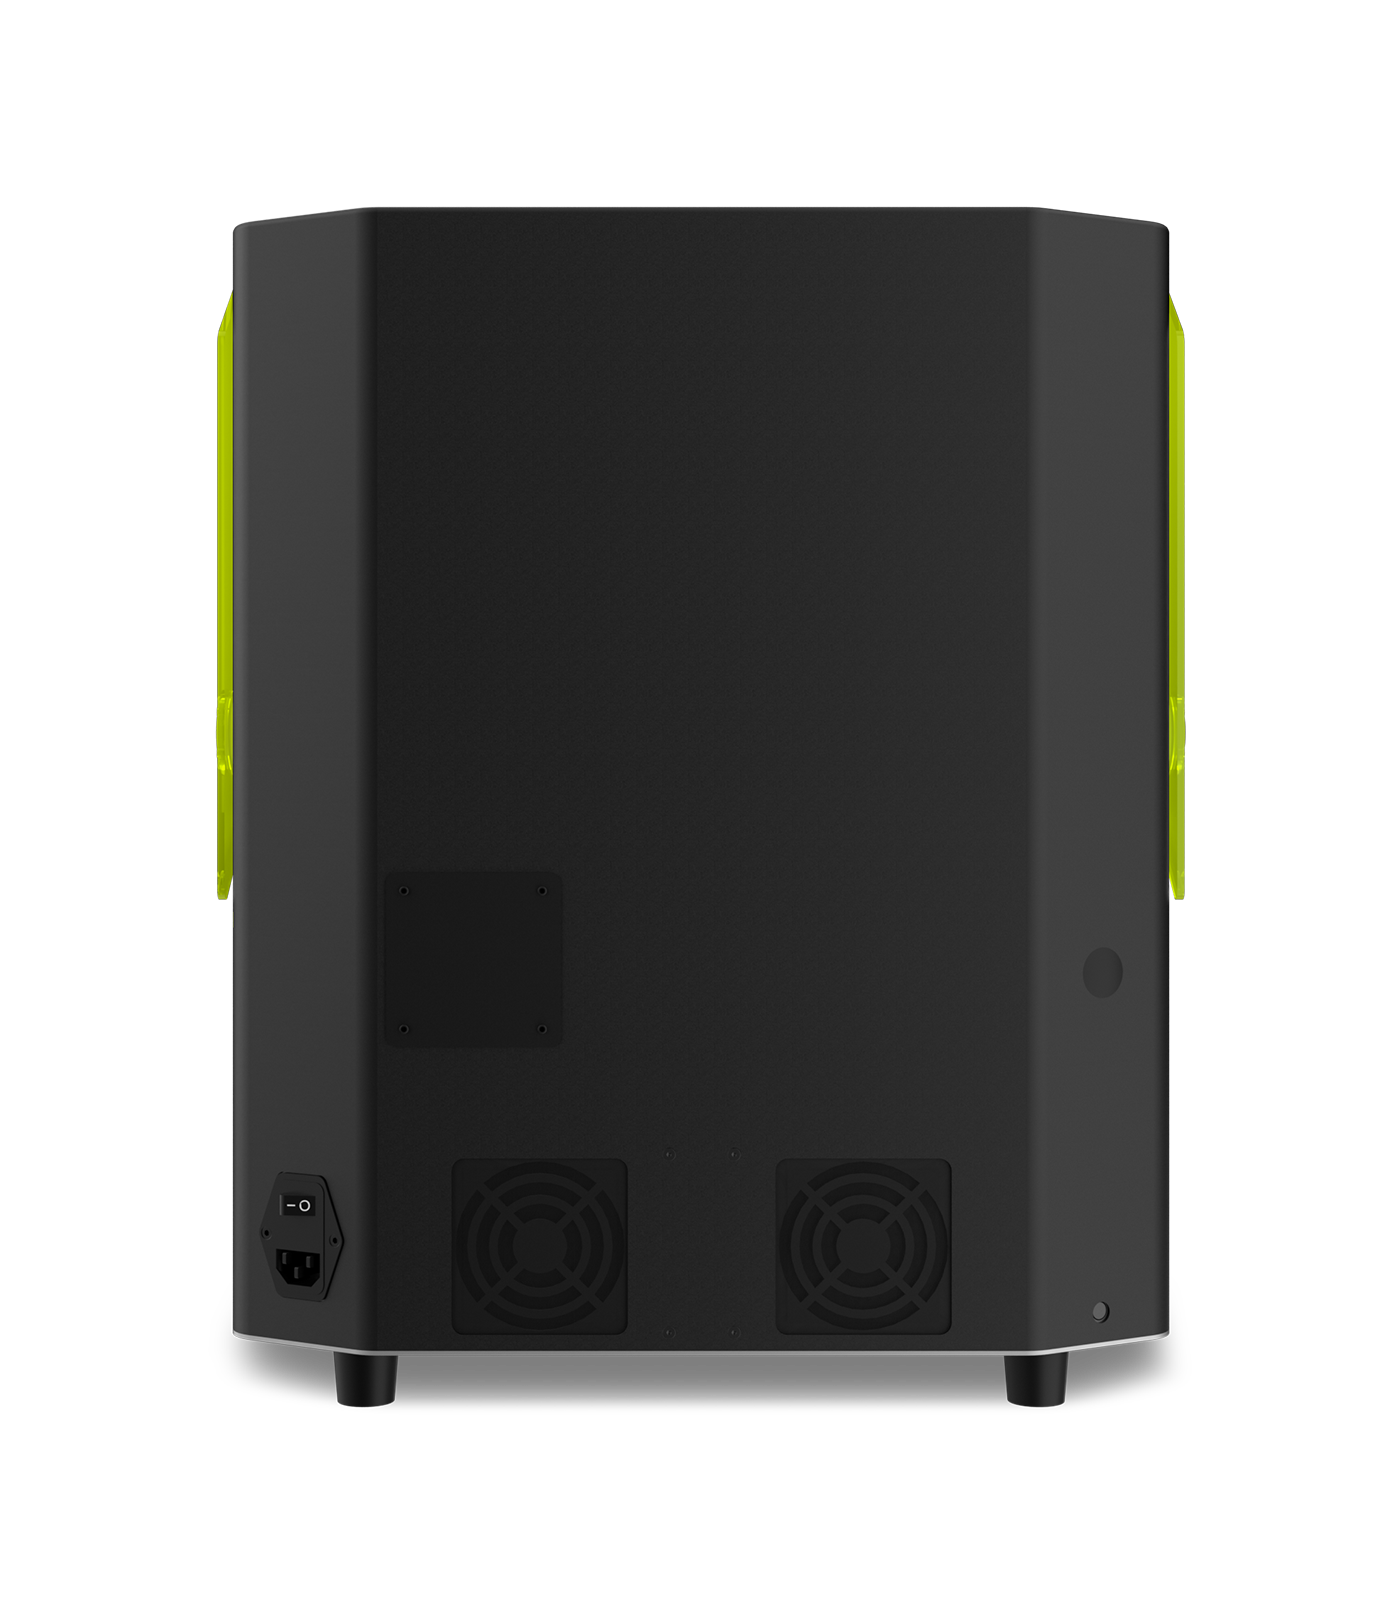
Front USB Port Design
47.2 x 38 x 56.6 cm
33 x 18.5 x 30 cm
26 kg
Metal Vat with ACF Film
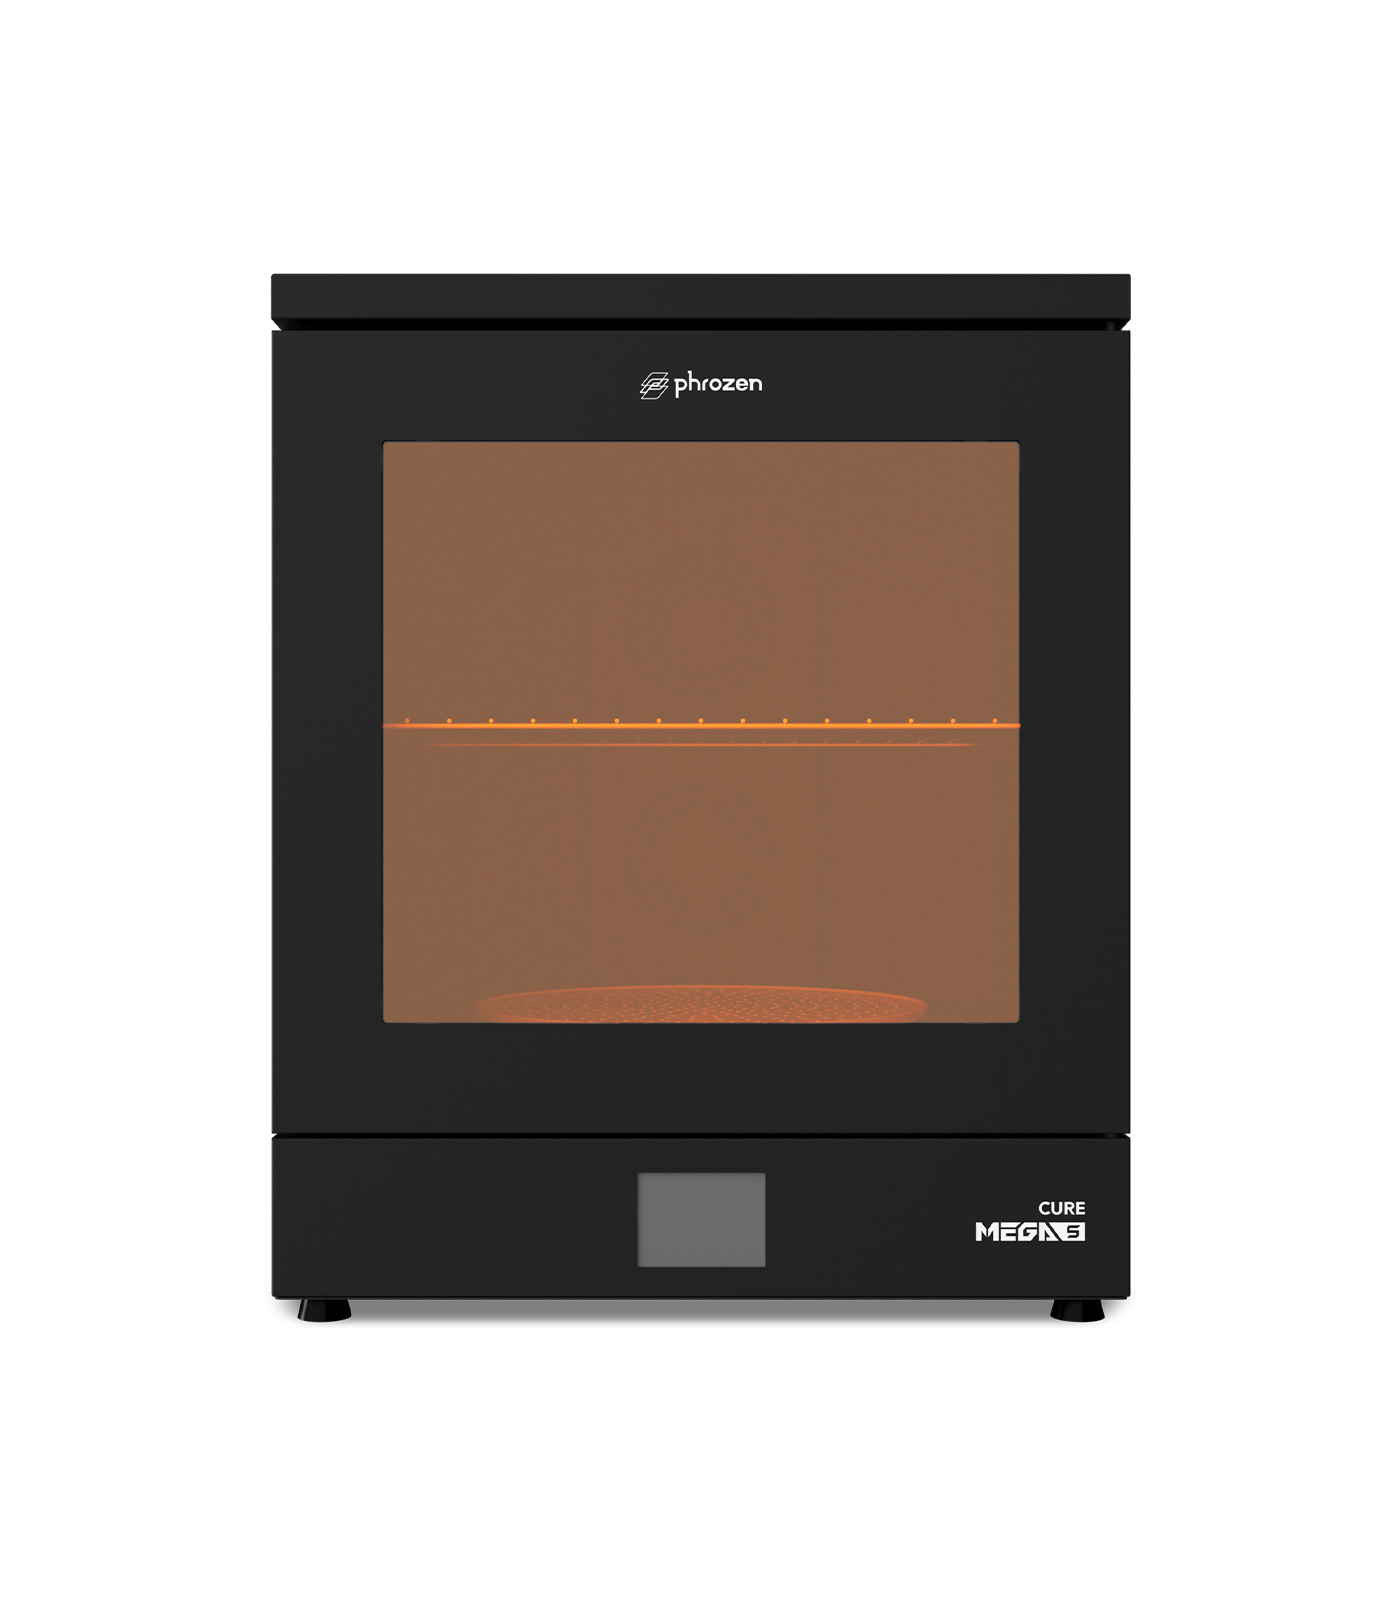
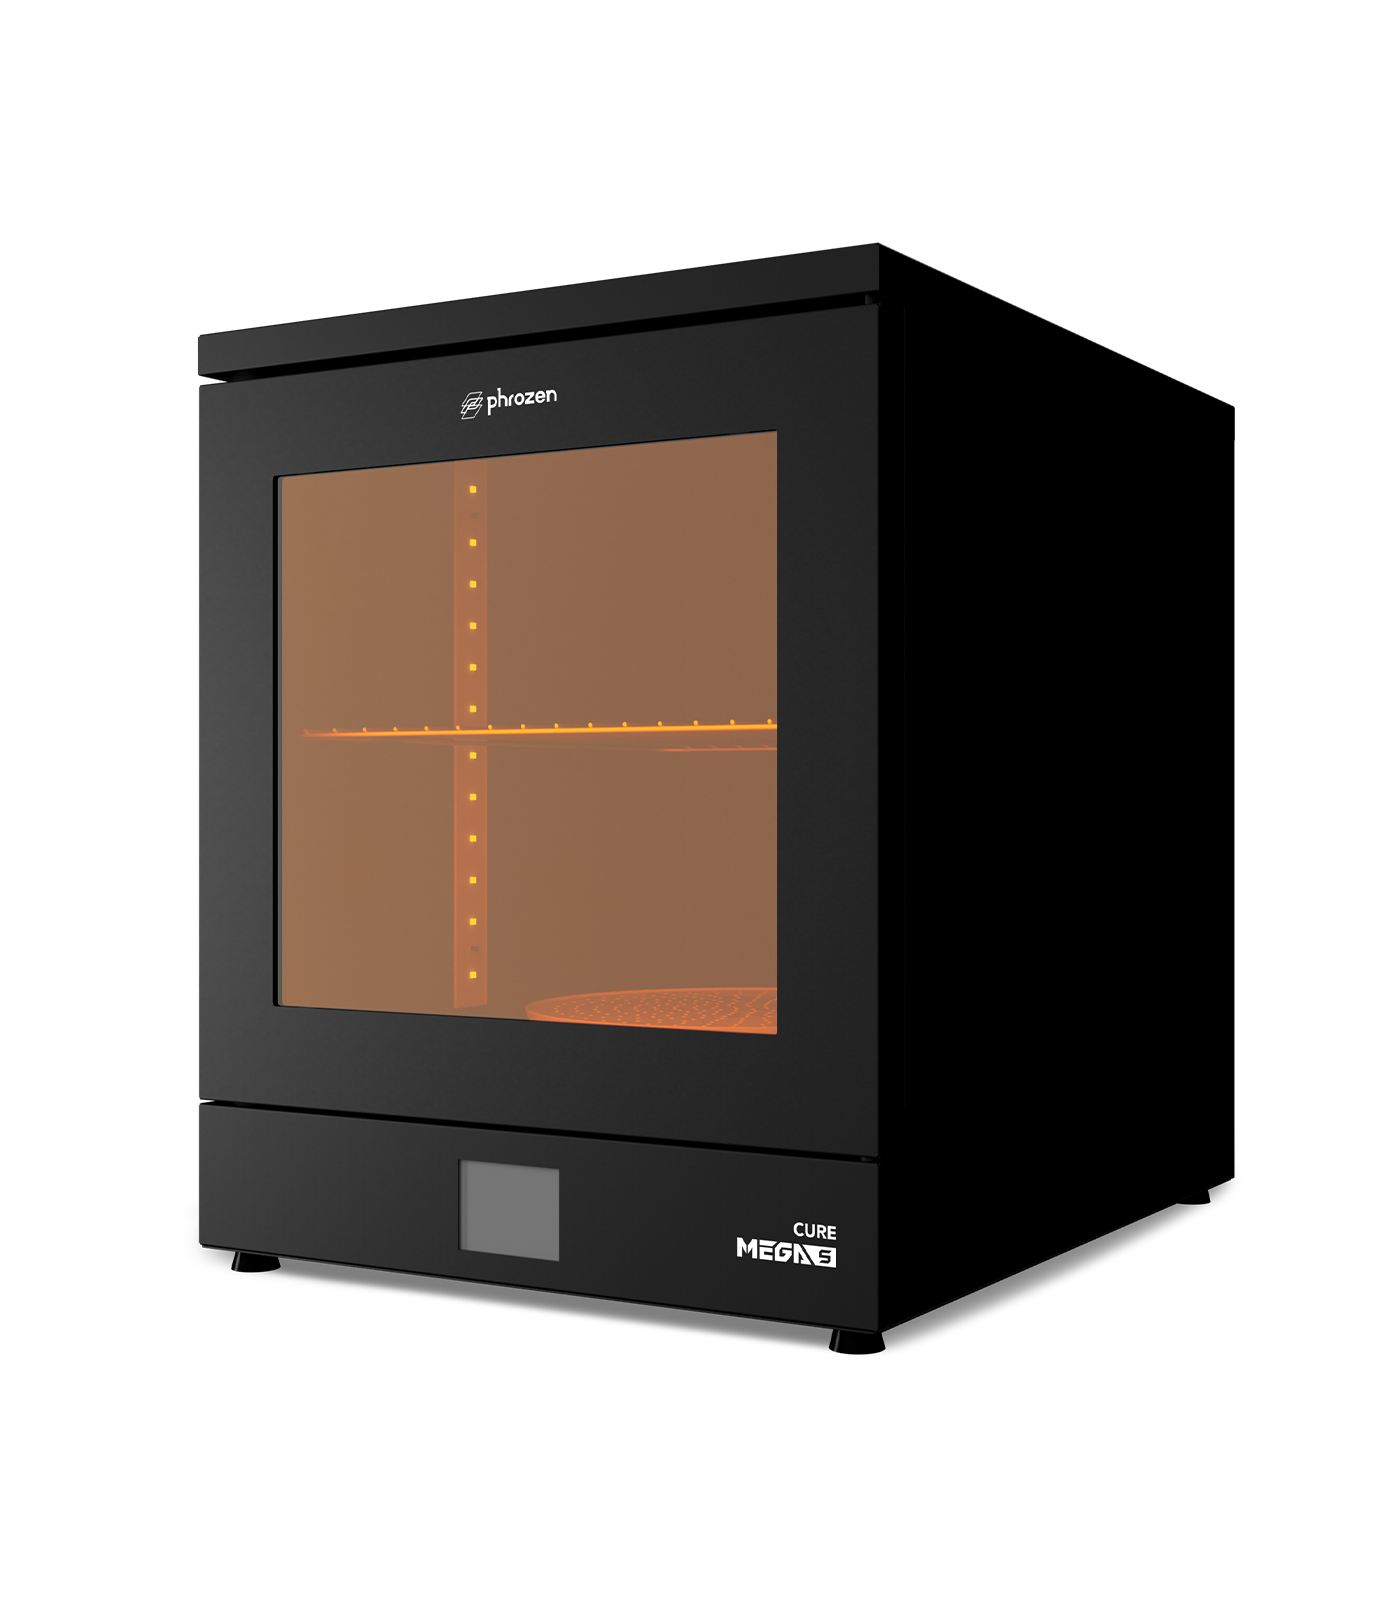
Phrozen Cure Mega S
Discover the Phrozen Cure Mega S, featuring a transparent 360° turntable for uniform curing, dual high-speed fans with 1700 RPM, and an interior light for clear visibility of curing progress. Its adaptable design includes a detachable rack, catering to large models or numerous smaller ones, offering optimal drying and curing versatility.
Cure Mega S
- Transparent 360-degree turntable guarantees uniform curing for your models.
- Features twin high-speed fans operating at 1700 rotations per minute.
- Built-in interior light provides effortless visibility into your models' curing progress.
- Adapt to your requirements by using a detachable rack for drying and curing large or small models.
Phrozen Cure Mega S Specs
L 39.5 x W 37.5 x H 48.6 cm
Ø35 x 30 cm
1700 rotations/min
0–30 min
AC100-240V ; 50/60Hz
15 kg
70 W
405 nm
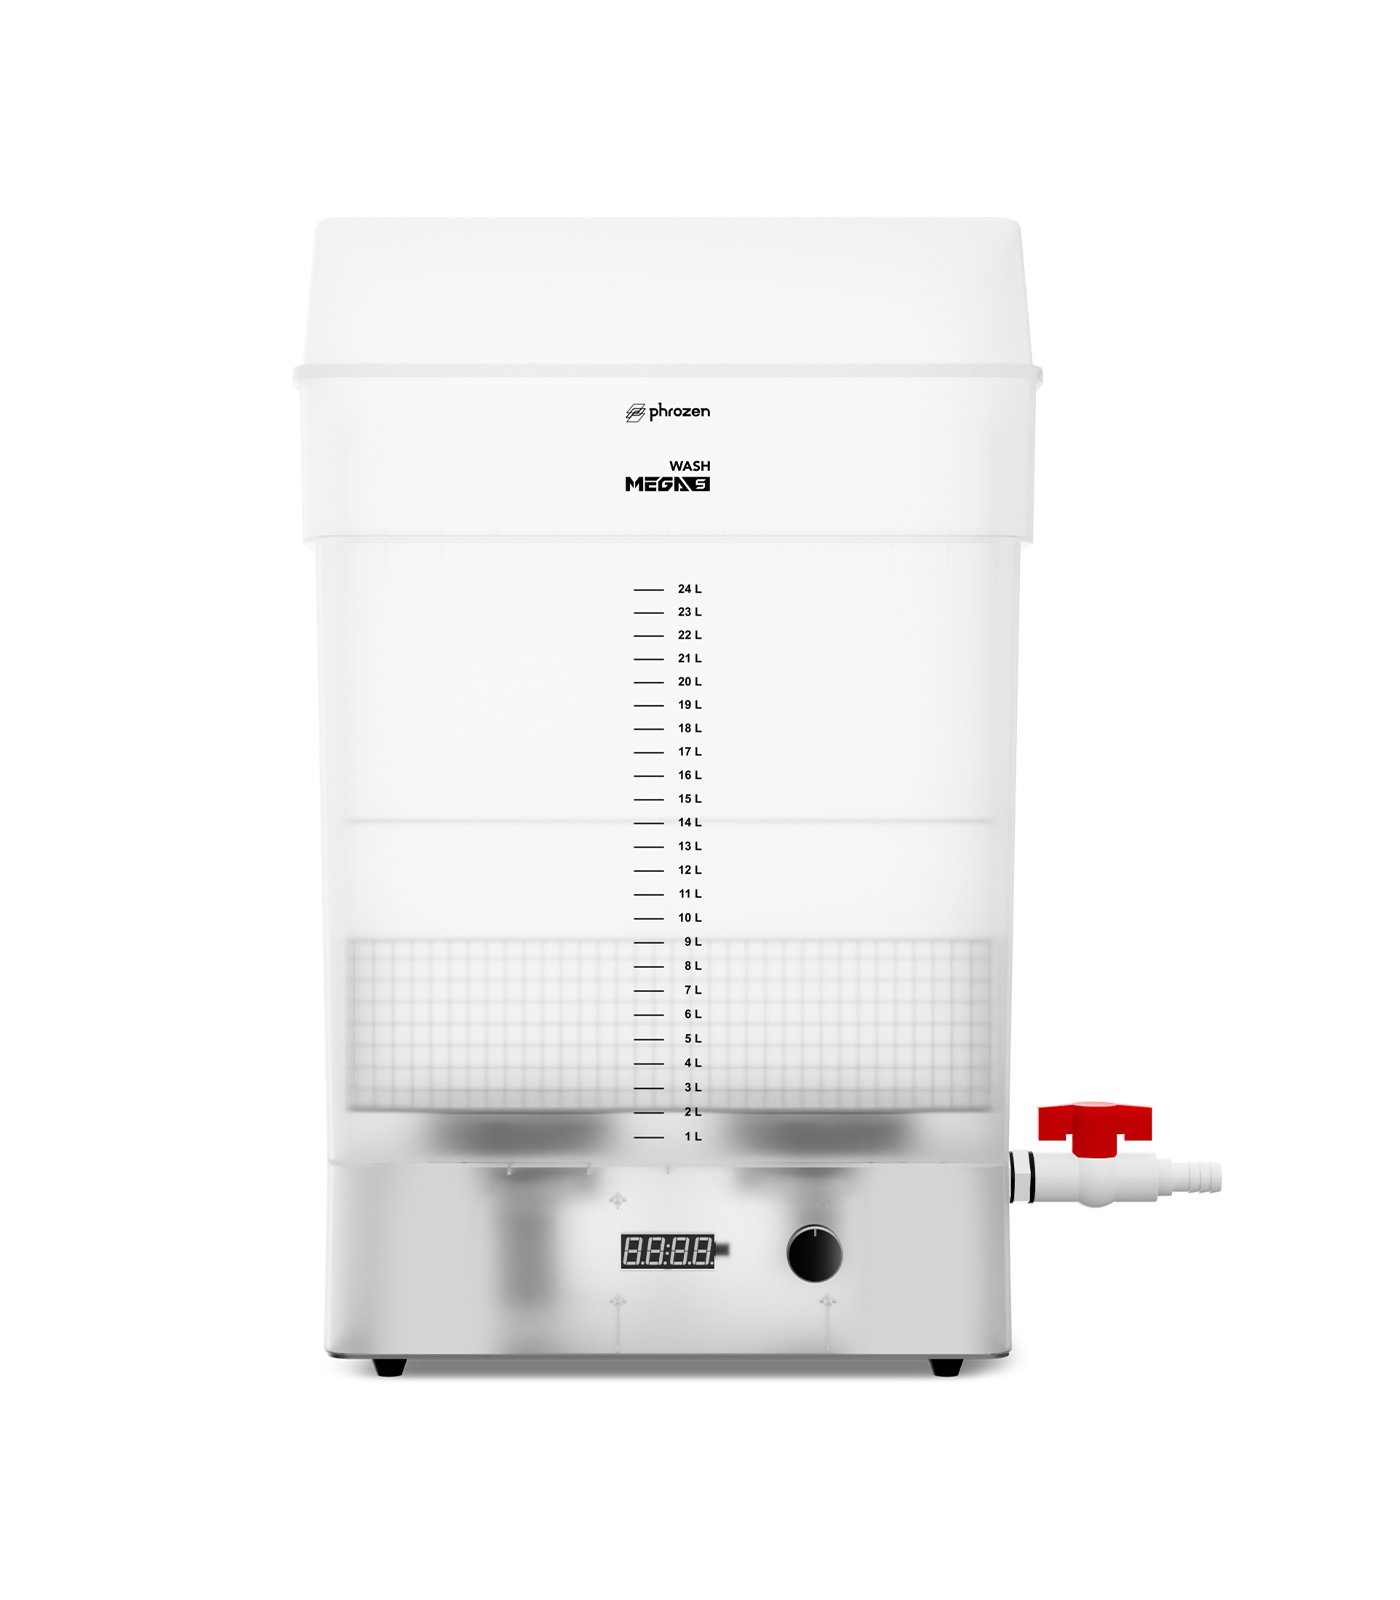
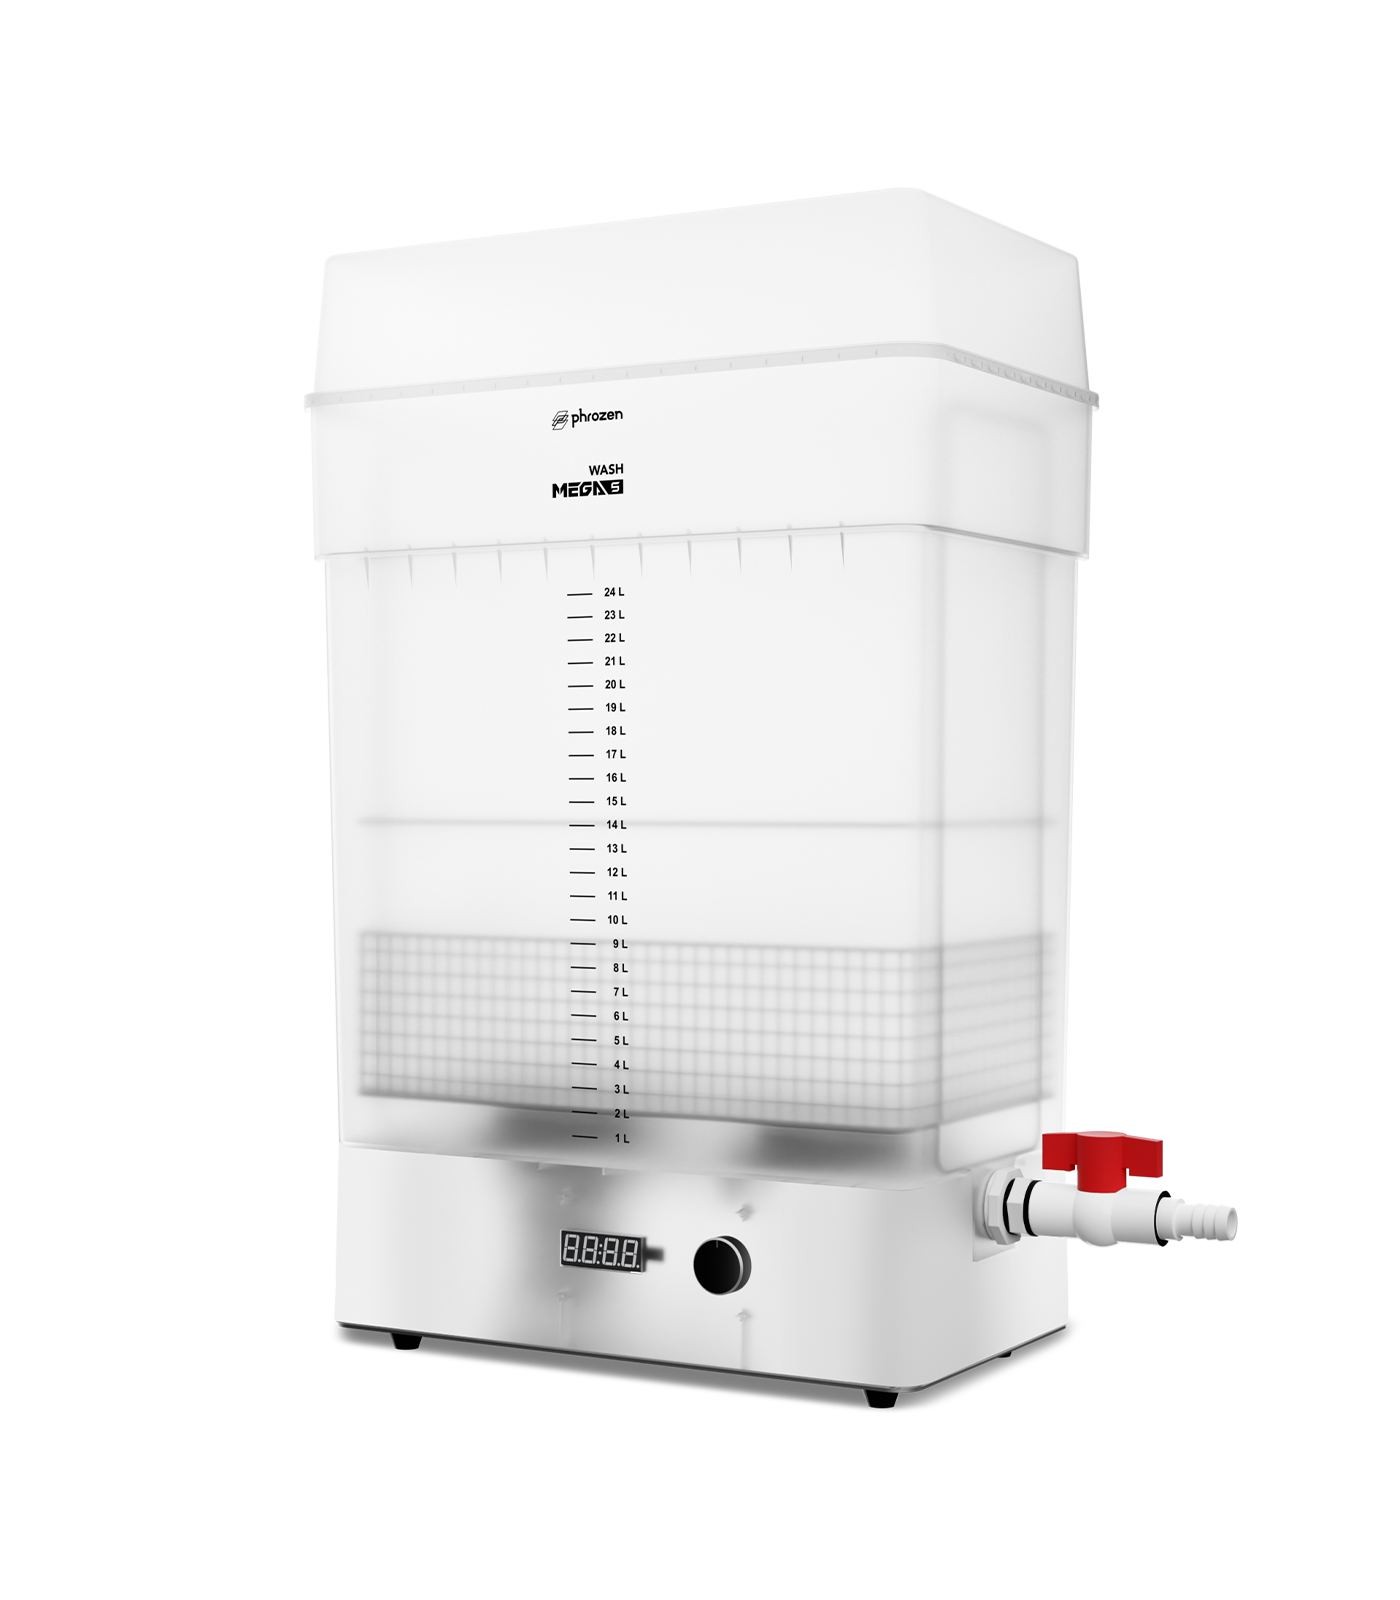
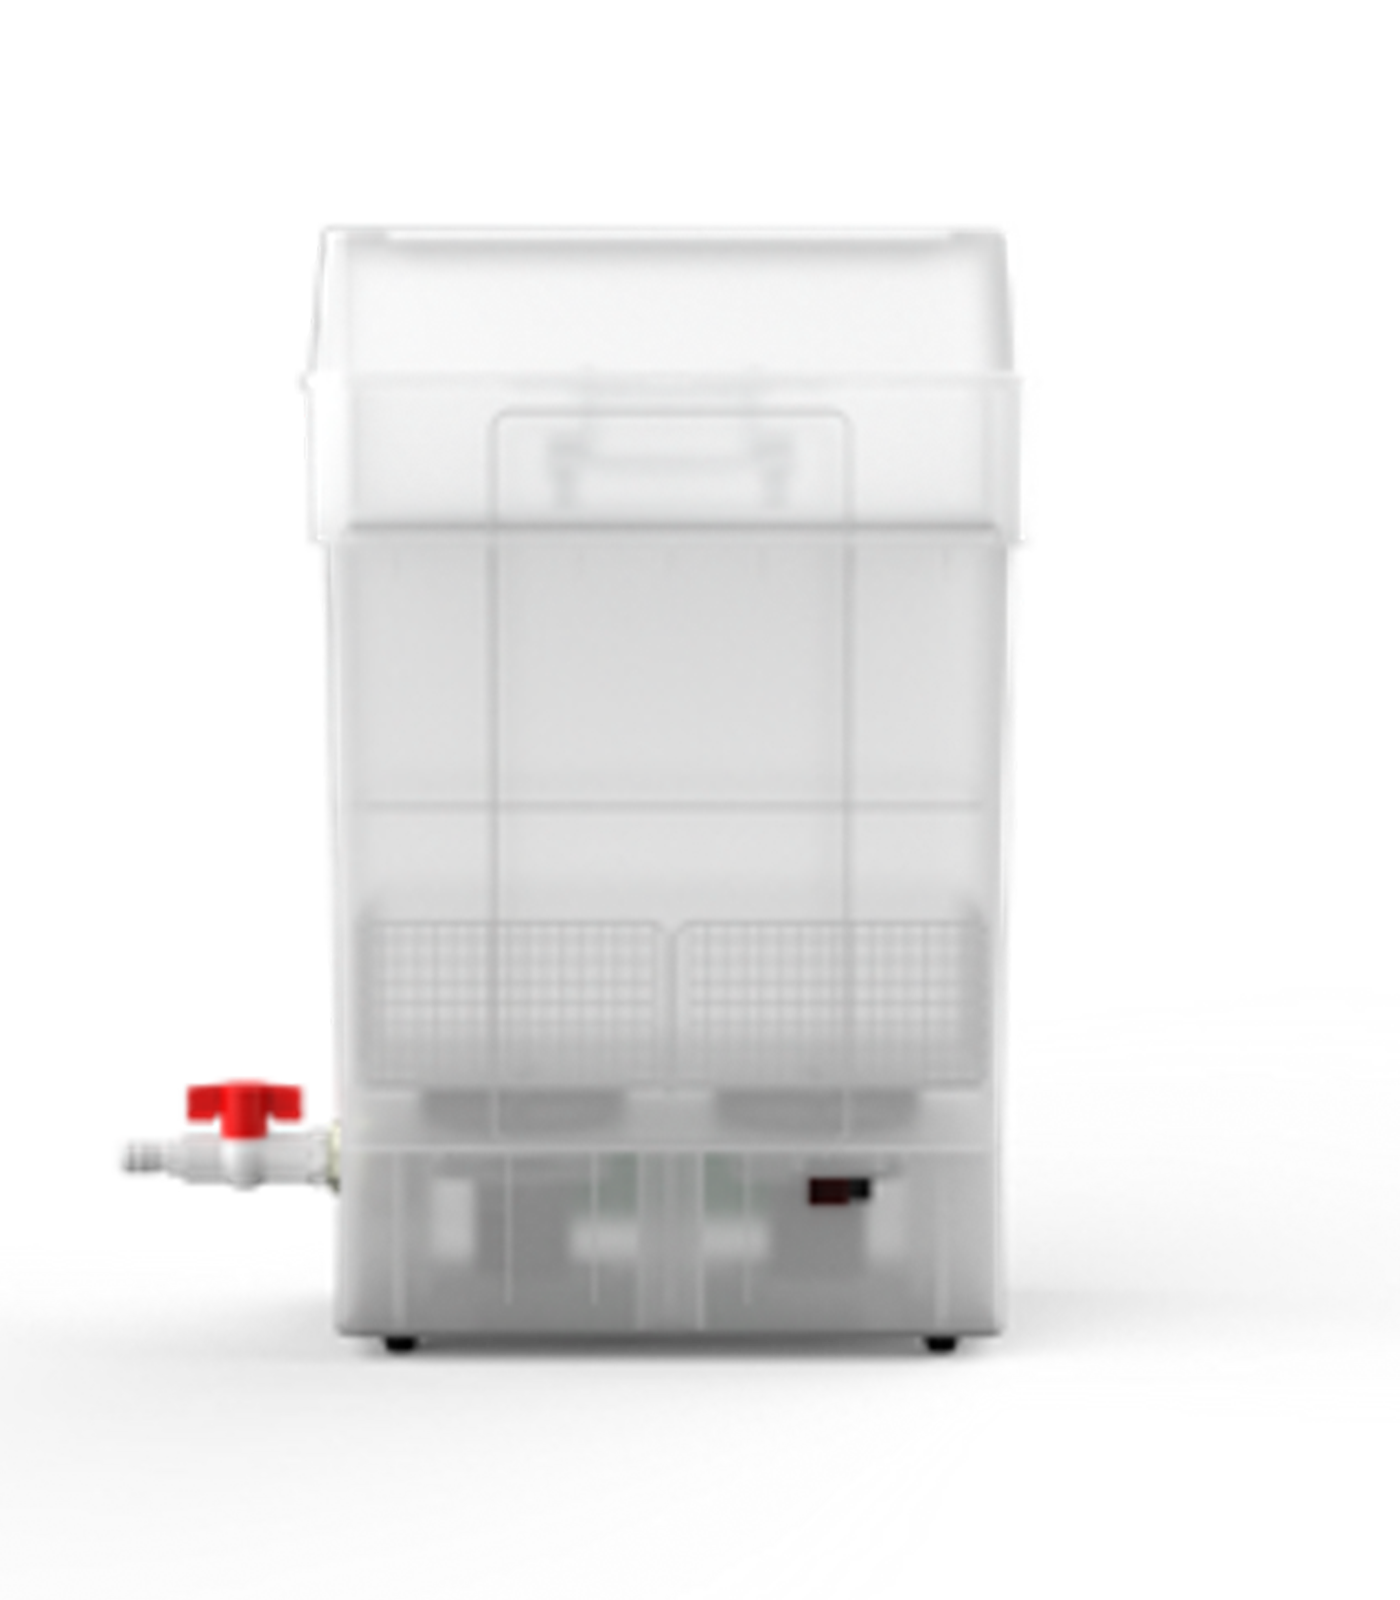
Phrozen Wash Mega S
Introducing the Phrozen Wash Mega S, clean large models or multiple smaller ones simultaneously with a 25L capacity. Dual-speed settings, double vortex cleaning, and wide compatibility make it your efficient cleaning solution. Experience convenience with an automatic reverse function for thorough cleaning.
Wash Mega S
- Clean extensive models or numerous smaller ones simultaneously using a 25L washing capacity.
- Select between dual-speed options based on requirements:
- High speed: 300 rpm
- Low speed: 275 rpm - Enhanced by a double vortex for superior cleaning efficiency and a valve for convenient wastewater disposal.
- Broad compatibility with added racks accommodating different building plate sizes: 15" (Mega series), 13.6", 13.3", and 12.8".
- Incorporating an automatic reverse function, alter vortex direction after 1 minute for a more thorough outcome.
Phrozen Wash Mega S Specs
L 41.2 x W 26.0 x H 62.5 cm
L 33.0 x W 19.0 x H 30.0 cm
High (300 rpm), Low (275 rpm)
Dual-speed double vortex
25 L
15” (Mega series), 13.6”, 13.3”, and 12.8”
AC100-240V;50/60Hz
8 kg
1–30 min
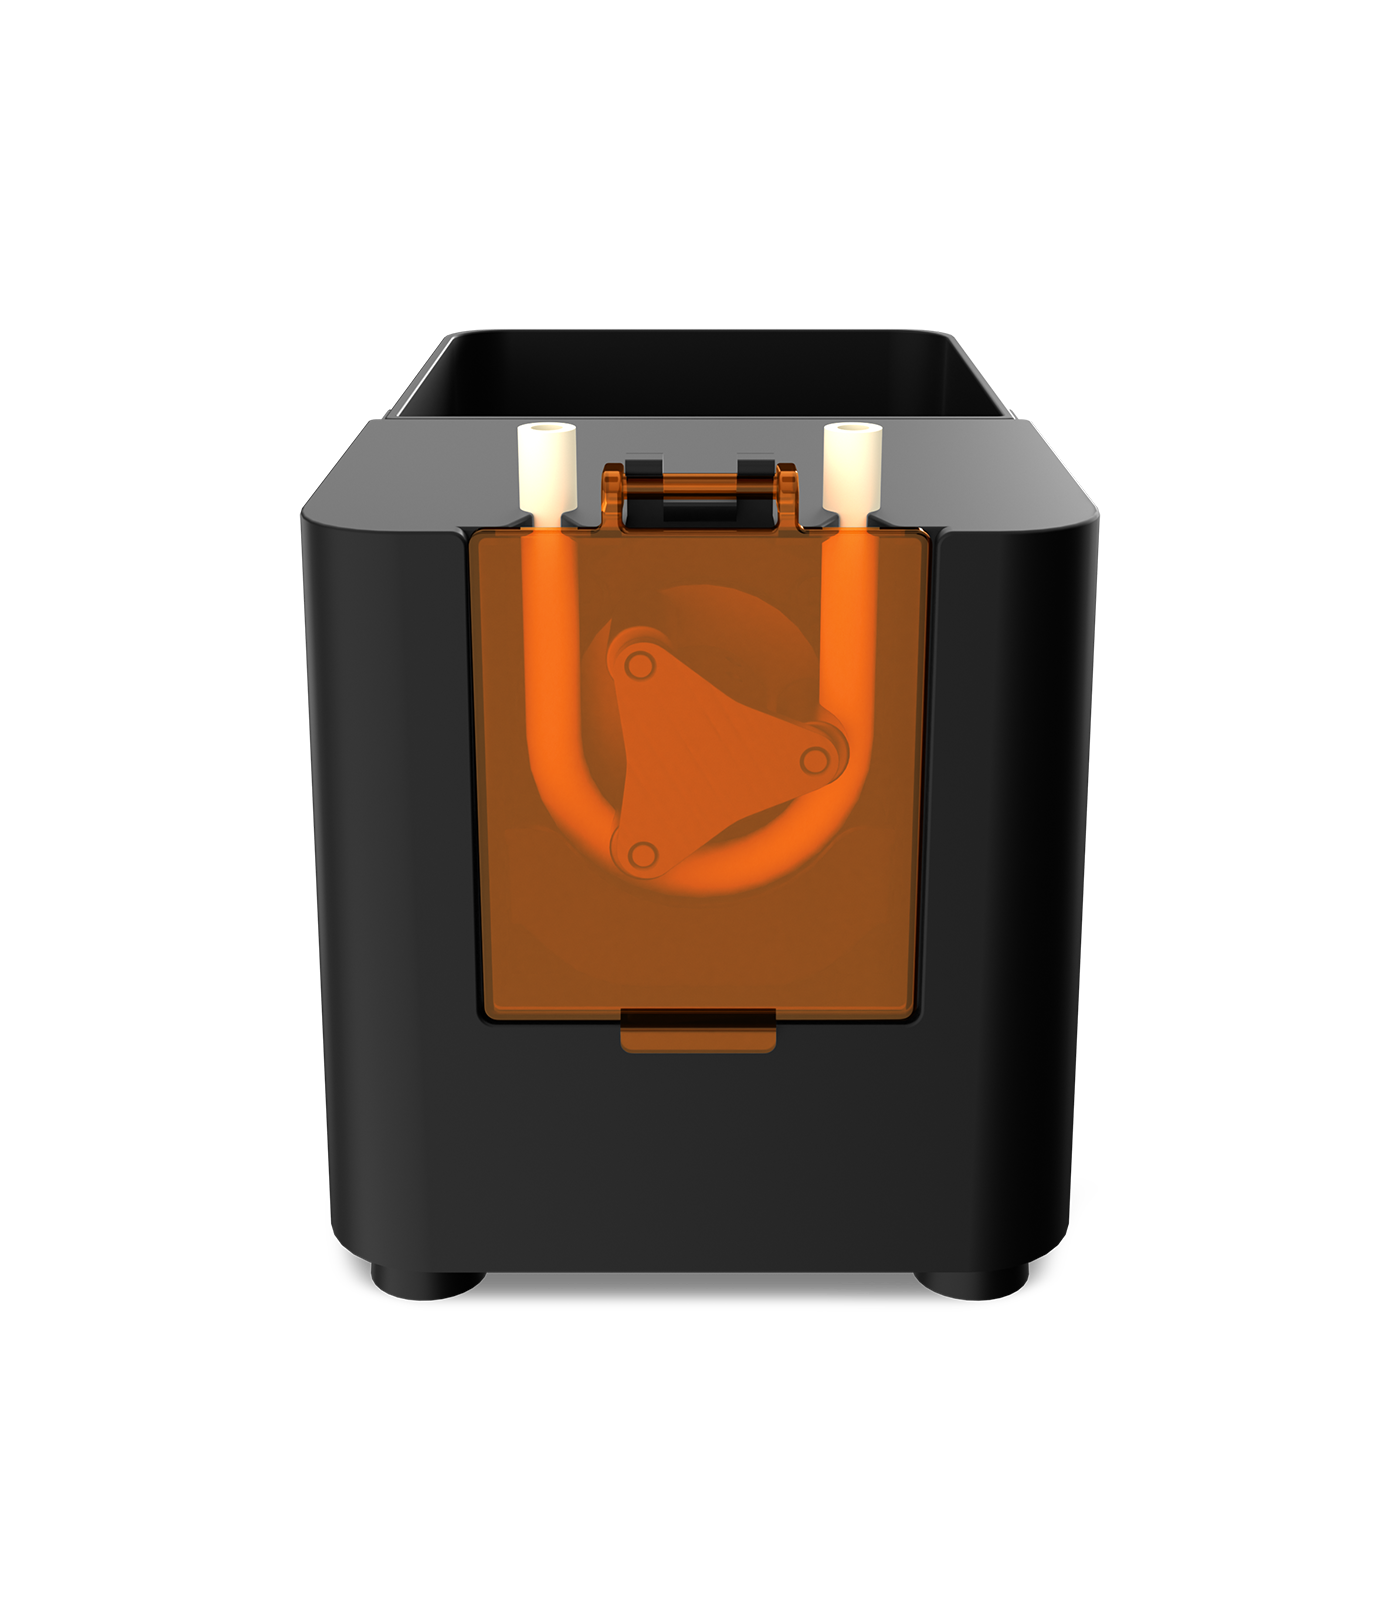

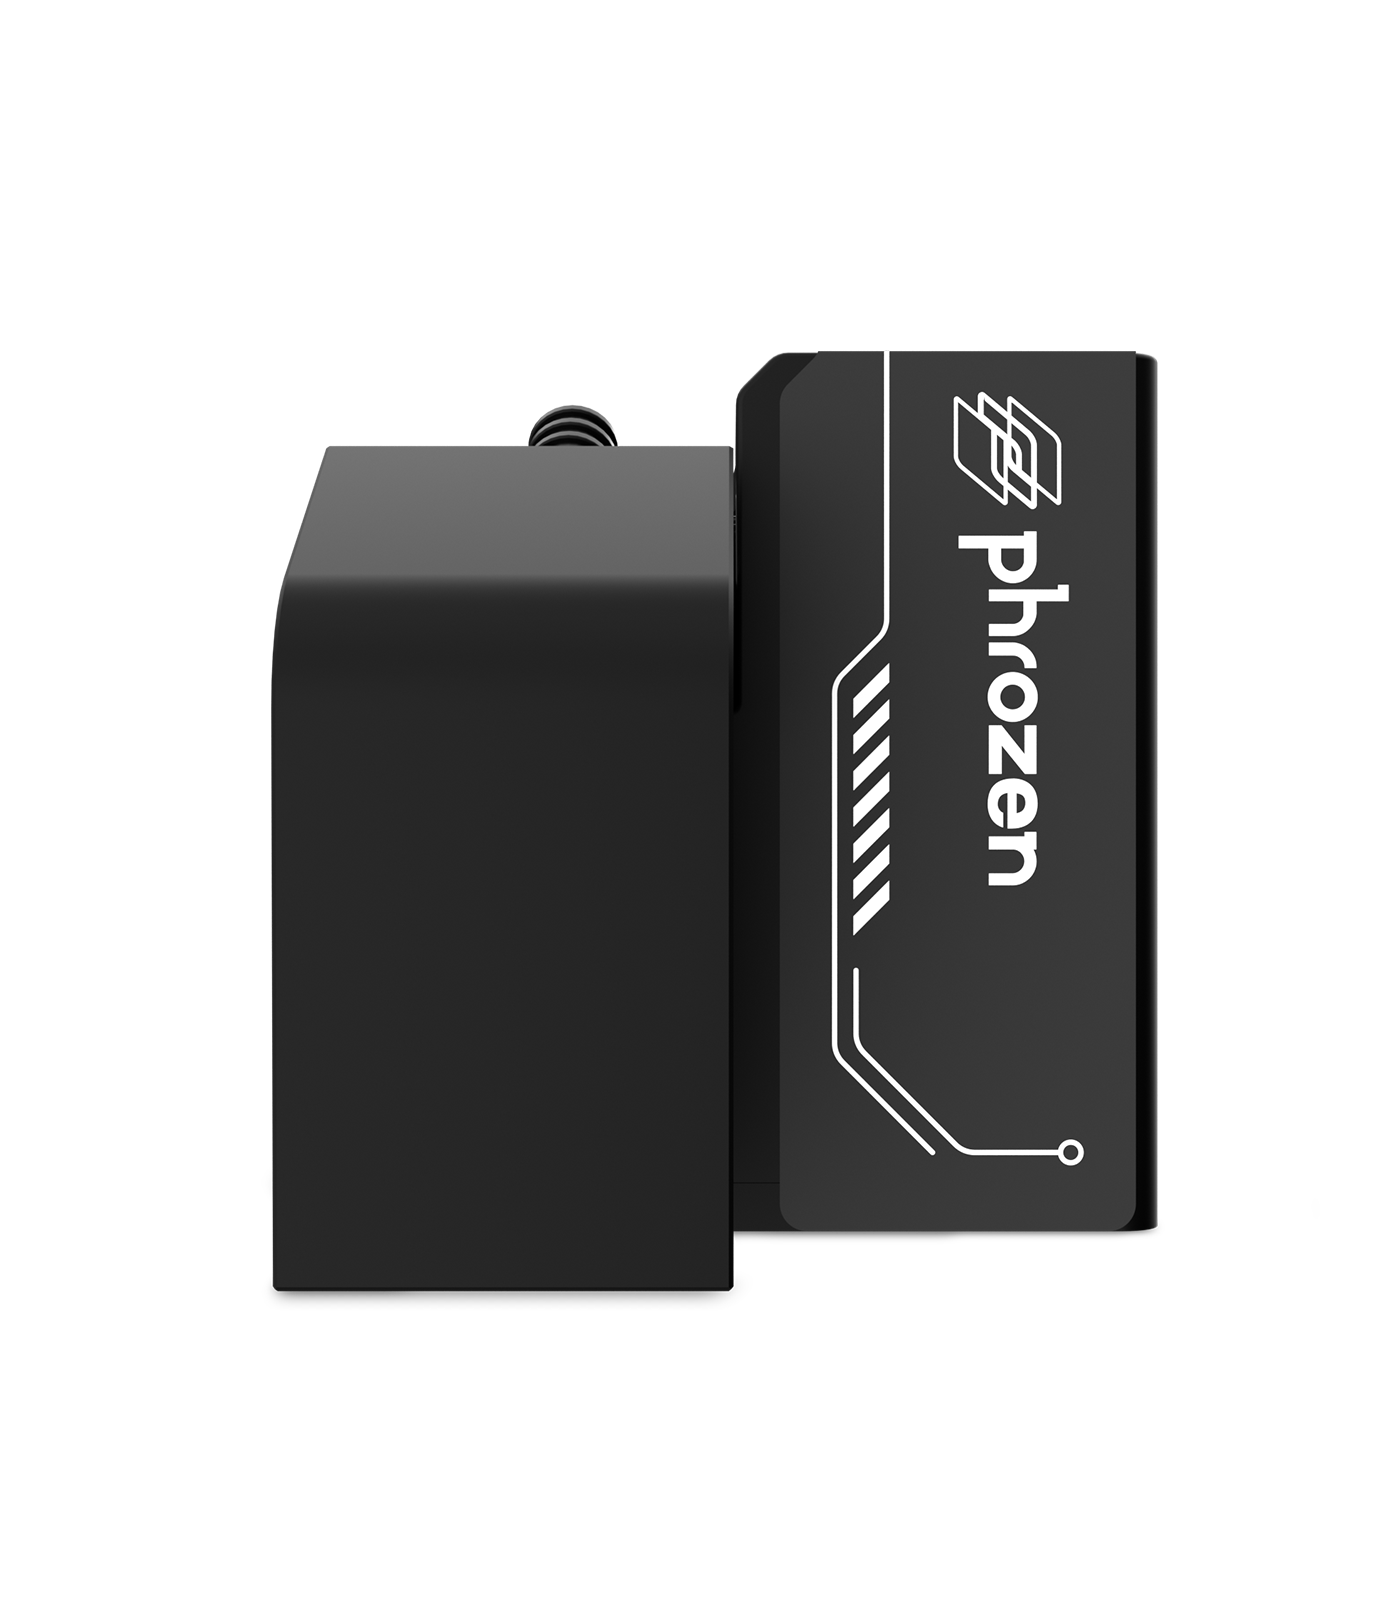
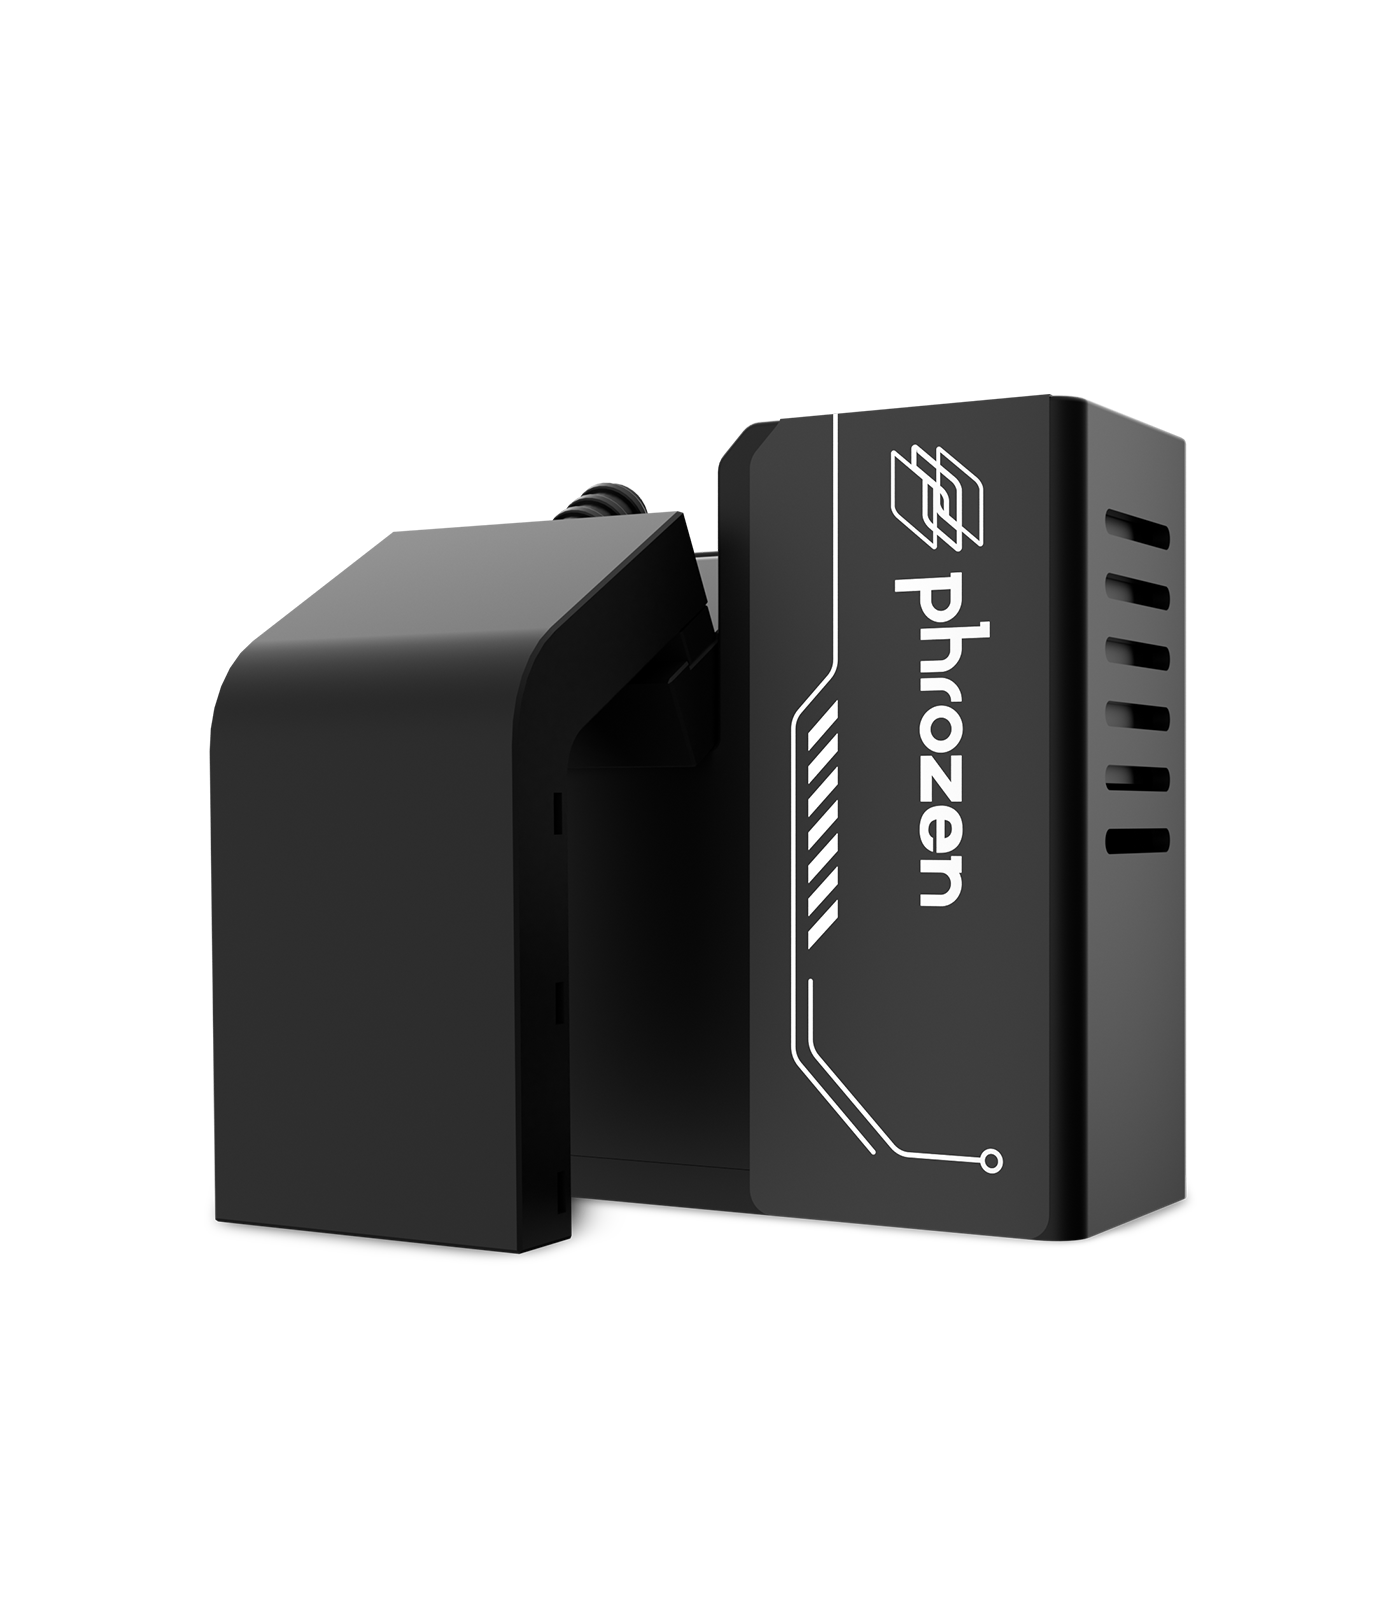
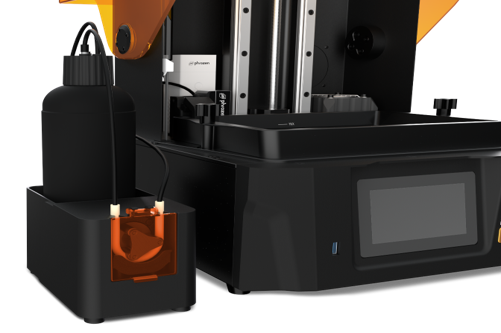
Pump & Fill - Automated Resin Feeder (Add-on)
Introducing the Pump & Fill - Automated Resin Feeder (Add-On): Easily automate resin refills, detecting and replenishing low levels. Streamline cleanup by pumping back excess resin after printing. Enjoy auto-fill and auto-pump functionalities, catering to efficient resin management. Compatible with bottles up to 210mm in height and 90mm in diameter. Keep your system running smoothly by replacing the peristaltic tube every 6 months.
Pump & Fill Tutorial
Select the "TOOLS" button and click the "Resin Auto Fill/Pump" function. You will then be presented with three options:
1. Enable the "Auto-Fill Resin" feature to allow the device to automatically perform resin filling.
2. Enable the "Auto-Pump Resin" feature to allow the device to automatically perform resin pumping.
3. Alternatively, you initiate the pumping process immediately by clicking the "Start Resin Pumping" button.
Fill
Pump
Step 1
Remove the baffle at the side of the printer and use an Allen wrench to loosen the screws on the machine's surface panel.
Step 2
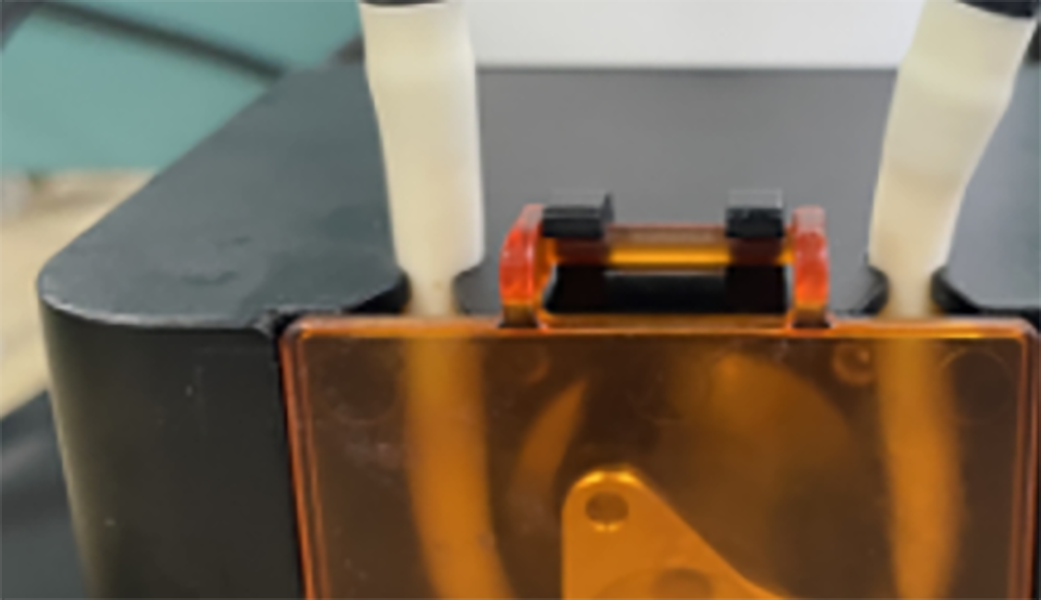
Pass the inlet hose through the side hole by detaching the baffle as in Step 1. Secure the inlet pump onto the surface panel using Step 1's screws, and insert the servo and sensor cables through the panel's hole. Finally, use the Allen wrench to remove the printer's side cover.
Step 3
Connect the servo cable and sensor cable to the printer's mainboard. Make sure to connect both cables to their respective color-coded slots, and then put back the side cover that was removed.
Step 4
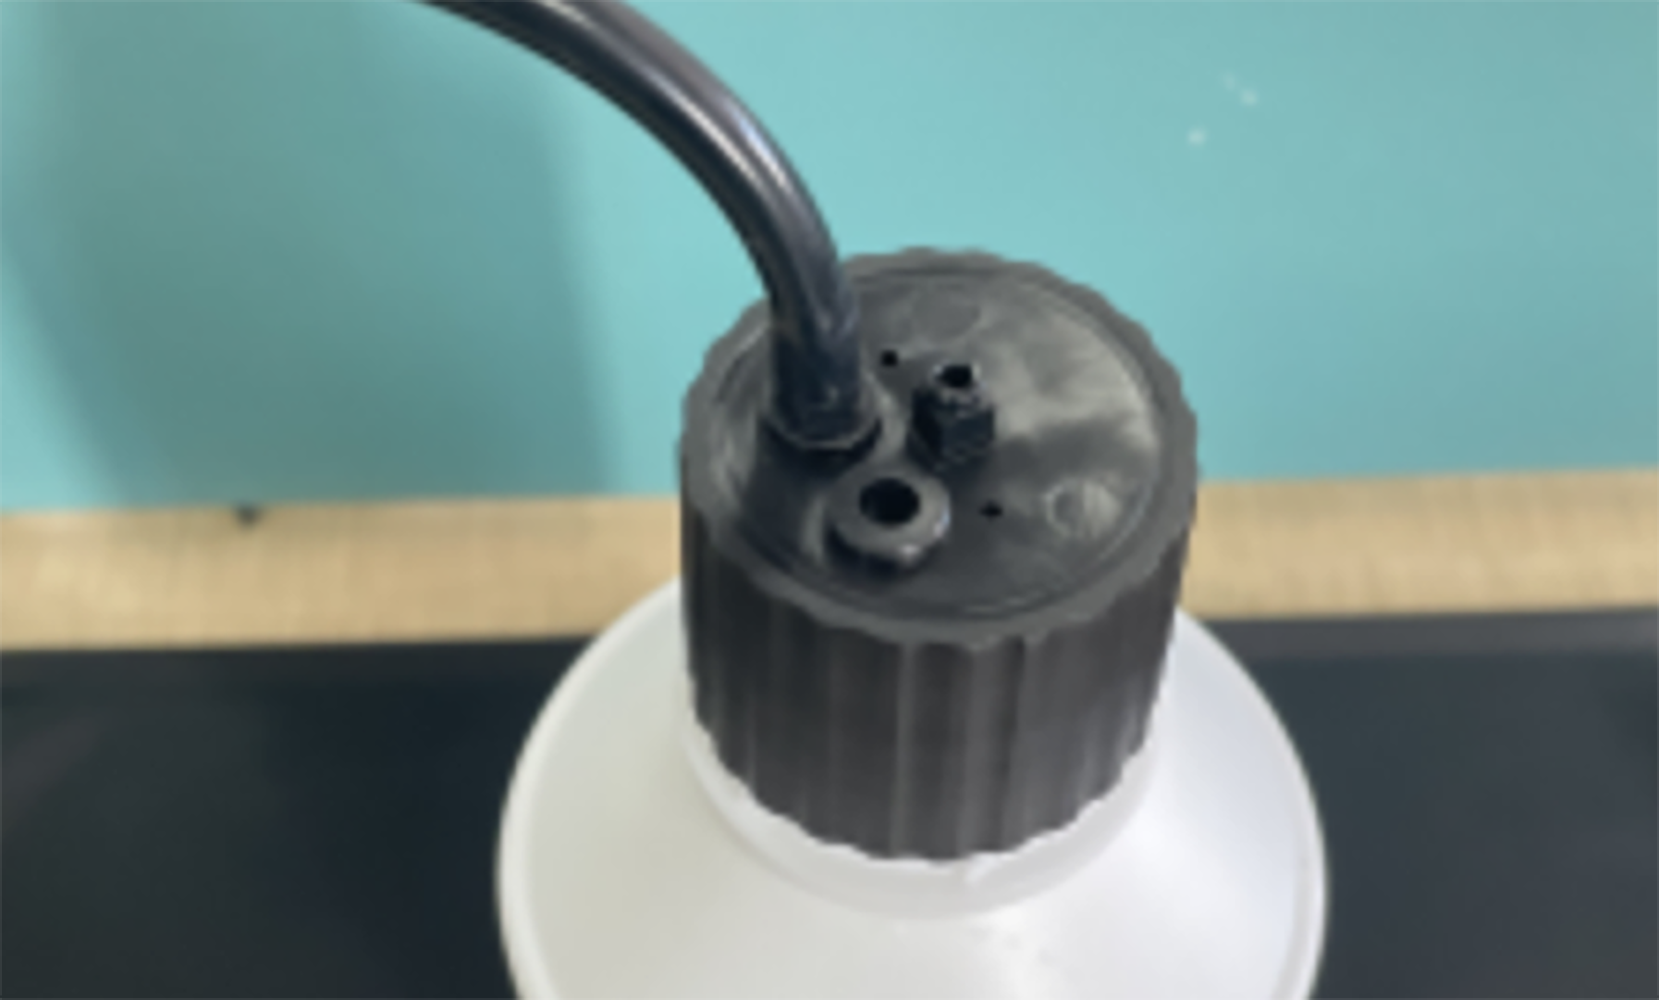
Place the pump lid into the resin bottle. Then, put the resin bottle into the designated slot on the pump case. Once the bottle is secure, insert the bottle cap infusion tube into the peristaltic tube located on the left side of the pump case.
Step 5
Connect the two ends of the lid data cable. Connect one end to the pump lid and the other end to the pump case. Then, insert the inlet hose into the peristaltic tube located on the right side of the pump case.
Step 6
To finish the installation process, connect the pump data cable to the hole on the left rear side of the printer and the slot on the rear side of the pump case.