So, you've just bought a 3D printer and you're excited to start creating amazing things. But before you dive into your first print, it's important to calibrate your printer to ensure optimal performance. In this beginner's guide, we'll walk you through the steps of calibrating your 3D printer so you can get the best possible results.
Why is calibration important?
Calibrating your 3D printer is crucial because it ensures that the printer is properly configured and able to accurately reproduce the designs you create. Without proper calibration, your prints may come out warped, misshapen, or with poor layer adhesion. Calibration also helps to prevent issues such as under-extrusion, over-extrusion, and bed leveling problems.
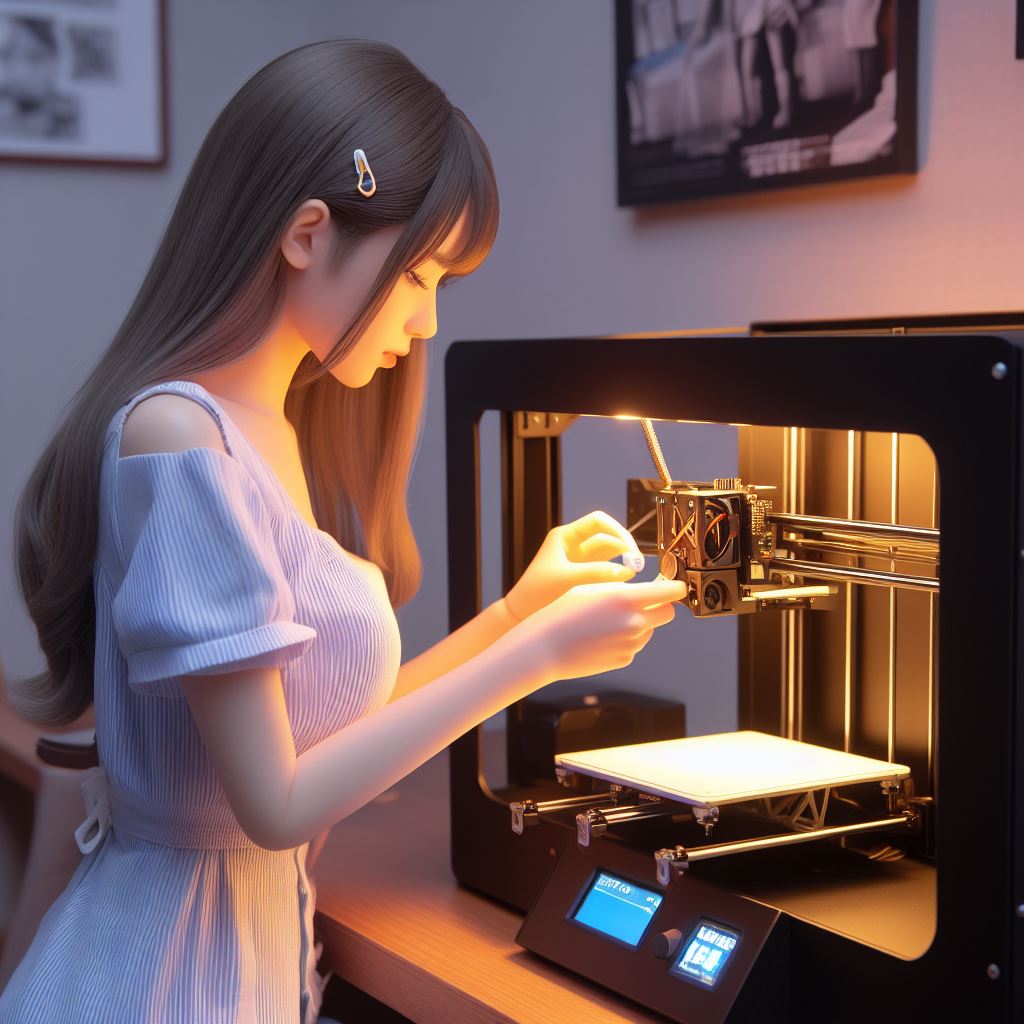
Step 1: Leveling the bed

The first step in calibrating your 3D printer is to level the bed. A level bed is essential for proper adhesion and consistent layer height. Start by loosening the screws on each corner of the bed, then move the print head to each corner and adjust the screws until the nozzle is just touching the bed. Repeat this process until the bed is level.
Step 2: Extruder calibration
Next, you'll need to calibrate the extruder. This involves measuring the amount of filament that is actually being extruded by the printer. Start by marking a point on the filament, then use the printer's control panel to extrude a specific length of filament. Measure the distance between the two marks on the filament and compare it to the desired length. Adjust the extrusion multiplier in your printer's settings until the measured length matches the desired length.
Step 3: Temperature calibration
Temperature calibration is important to ensure that the filament is being heated to the correct temperature for optimal printing. Use a temperature calibration tower or a temperature calibration print to test different temperatures and determine the best temperature for your specific filament. Adjust the temperature settings in your printer's software until you achieve the best print quality.
Step 4: Flow rate calibration
Flow rate calibration is the final step in calibrating your 3D printer. This step ensures that the printer is extruding the correct amount of filament for each layer. Print a calibration cube or a flow rate calibration print and measure the dimensions of the printed object. Adjust the flow rate in your printer's settings until the dimensions of the printed object match the desired dimensions.
By following these steps, you'll be able to calibrate your 3D printer and achieve high-quality prints. Remember, calibration is an ongoing process, so don't be afraid to make adjustments as needed. Happy printing!
Leave a comment
This site is protected by hCaptcha and the hCaptcha Privacy Policy and Terms of Service apply.