Cosplay has become a popular hobby among enthusiasts who enjoy dressing up as their favourite characters from movies, video games, and anime. One crucial aspect of creating an authentic cosplay is the props that accompany the costume. Traditionally, crafting these props required extensive manual labour and artistic skills.
Today, with the advent of 3D printing technology, cosplayers now have a more accessible and efficient method of bringing their favourite characters to life. This innovative technology allows them to design and print intricate and detailed props, adding a new level of realism to their costumes. In this article, we will explore the process of creating cosplay props using a 3D printer and the benefits it offers to cosplayers.
Why Use a 3D Printer?
3D printers have revolutionized the world of prop-making. They allow cosplayers to create intricate and detailed props that were once only possible through expensive and time-consuming methods. With a 3D printer, you can bring your favourite characters to life by producing high-quality props with ease.
Step 1: Use 3D modelling software to create a digital design of the cosplay prop.
The first step in making a cosplay prop with a 3D printer is to design the prop itself. You can use 3D modelling software like Blender or Fusion 360 to create a digital model of the prop. Pay attention to the dimensions and details to ensure accuracy.
Step 2: Choose the appropriate material
Pick your material for the cosplay prop based on its size, weight, and durability requirements.
Common materials used for cosplay props include PLA, ABS, and PETG. By carefully evaluating these criteria, engineers and designers can determine the best material for a particular application. Ultimately, the goal of material selection is to ensure that the chosen material meets the desired performance and functionality while also considering practical considerations such as availability and cost.Step 3: Adjust prop size in 3D modeling software.
In 3D modeling software, users have the ability to adjust the size of props to create more realistic and visually appealing scenes. By manipulating the prop size, users can ensure that the objects within their virtual environment are proportionate and accurately represent real-world objects. This feature allows for greater control and customisation, enabling users to create stunning and immersive 3D models.
Step 4: Start the Printing Process
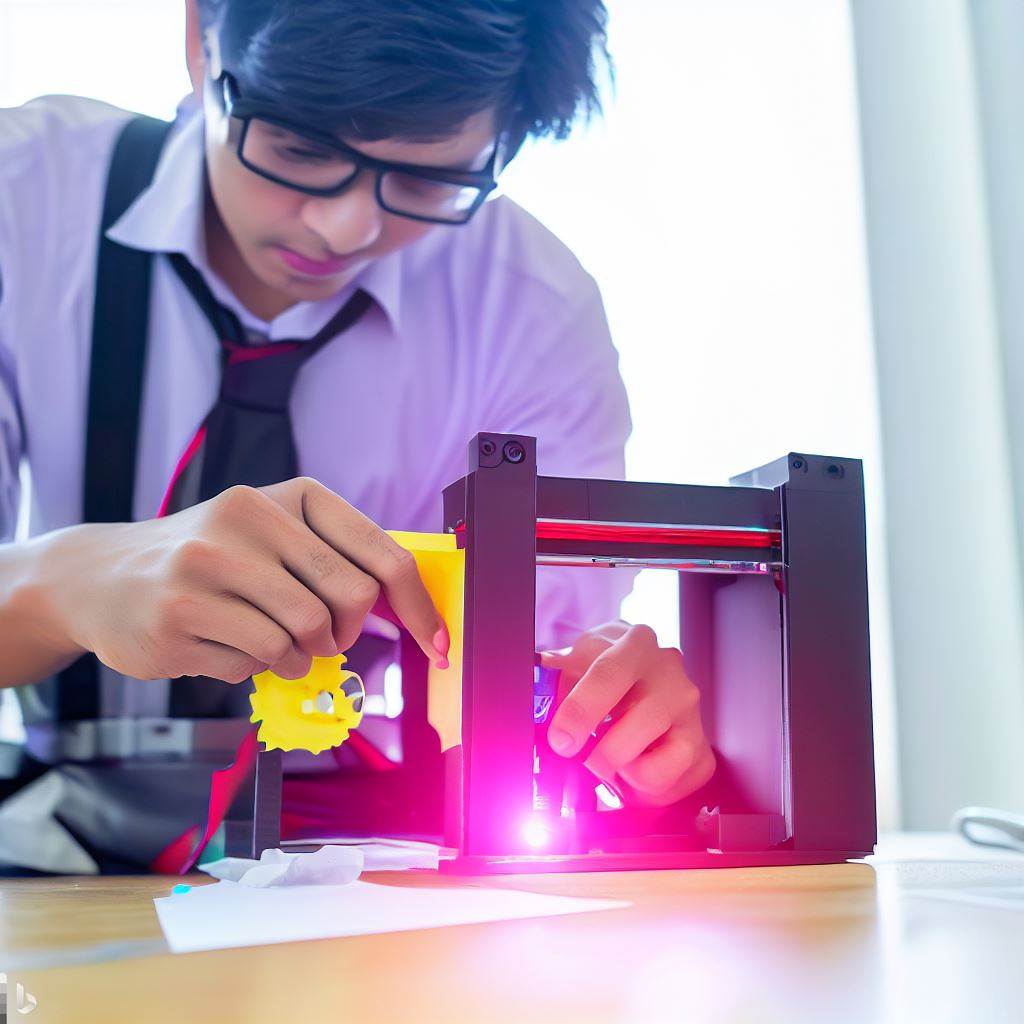
Set up the 3D printer with the chosen material and initiate the printing process. This may involve adjusting print settings such as layer height, infill density, and print speed. Initiate 3D printer with chosen material.
As the printer starts, it carefully follows the instructions provided by the user to create a three-dimensional object layer by layer. The printer precisely melts or solidifies the material, depending on its properties, and deposits it in the desired shape. The output of this process is a physical object that accurately represents the digital design that was fed into the printer.
Step 5: Support Structures
Depending on the complexity of the prop, it may require support structures to be printed alongside it. These structures help maintain the prop's shape during printing and are removed afterward. These temporary structures are typically made from the same material as the object being printed and can be easily removed once the printing is complete. Overall, support structures play a crucial role in enabling the realisation of intricate and intricate 3D printed objects.
Step 6: Post-Processing
Once the prop is printed, it may require post-processing to remove any imperfections, such as support marks or rough edges. This can be done through sanding, filing, or using other finishing techniques.
Step 7: Painting and Detailing of your props
Apply a base coat of paint to the prop and then add additional layers to achieve the desired colour and texture. Use techniques like dry brushing, weathering, or airbrushing to add depth and realism.
The process involves selecting the appropriate colours and materials to bring the prop to life, ensuring that it accurately represents the character or object it is based on. This may involve techniques such as airbrushing, hand-painting, or using various tools to create texture and depth. The final result should be a beautifully crafted prop that enhances the overall cosplay experience and captures the essence of the character being portrayed.
Step 8: Assemble cosplay prop parts with proper alignment
If the cosplay prop consists of multiple parts, use adhesives or other joining methods to assemble them. Ensure proper alignment and reinforcement to ensure the prop is sturdy and can withstand use during cosplay events.This requires careful attention to detail and a keen eye for ensuring that each component is fitted together seamlessly. The end goal is to create a finished product that accurately represents the desired character or object. By meticulously aligning the parts, the output will be a visually appealing and authentic cosplay prop that will enhance the overall costume and bring the character to life.
The process of creating a cosplay prop using 3D printing involves several steps, including design, material selection, scaling, printing, support structures, post-processing, painting, detailing, and assembly. By following these steps, cosplayers can create highly customised and detailed props that accurately represent your favourite characters. 3D printing allows for precise customisation and the use of various materials, resulting in props that are both visually appealing and durable. With the increasing accessibility of 3D printing technology, more and more cosplayers can now create their own props at home. So, if you're a cosplayer looking to take your costumes to the next level, why not give 3D printing a try?
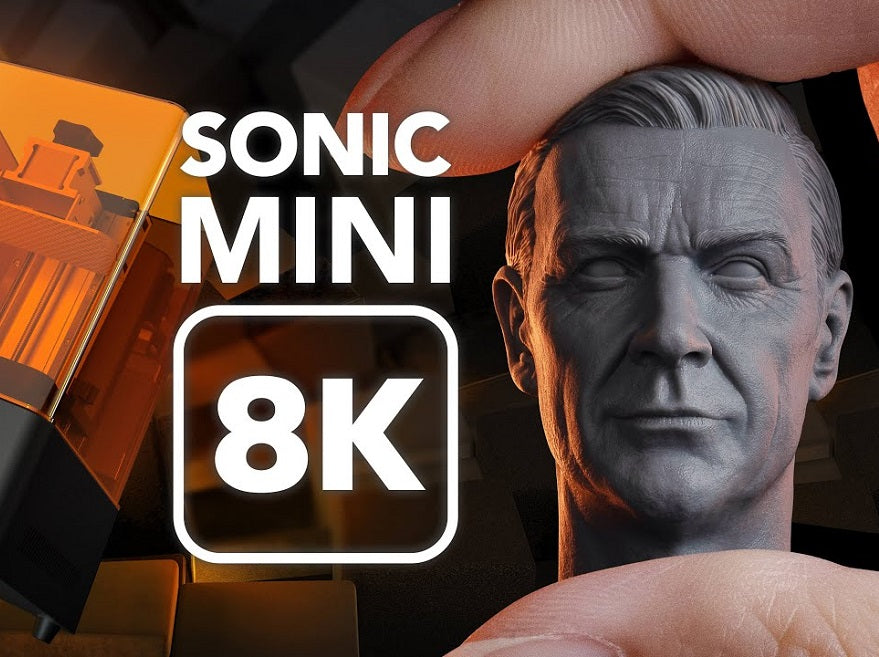
Check out our range of 3D printers, including Phrozen, Anycubic, and Flsun.


Leave a comment
This site is protected by hCaptcha and the hCaptcha Privacy Policy and Terms of Service apply.