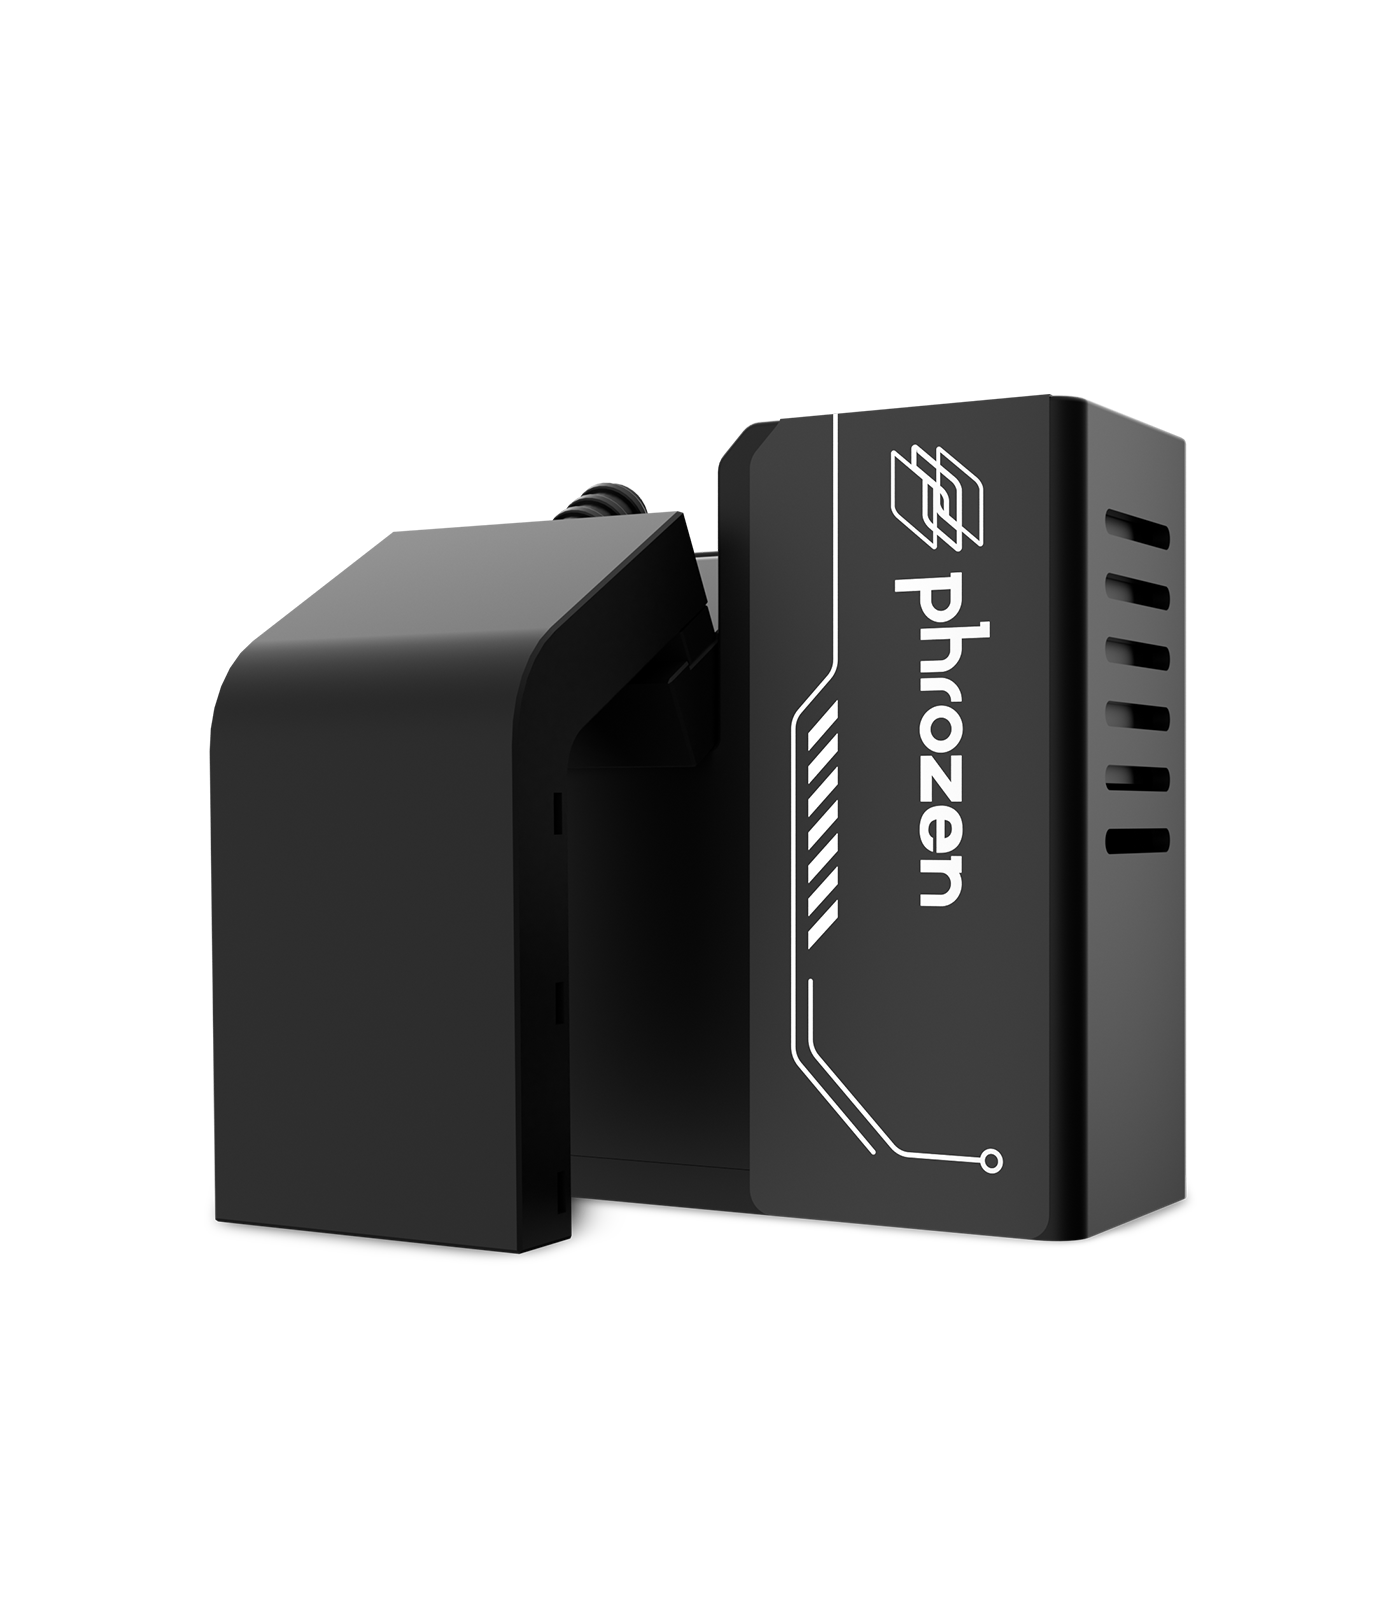
Phrozen Pump & Fill - Automated Resin Feeder
Tax included.
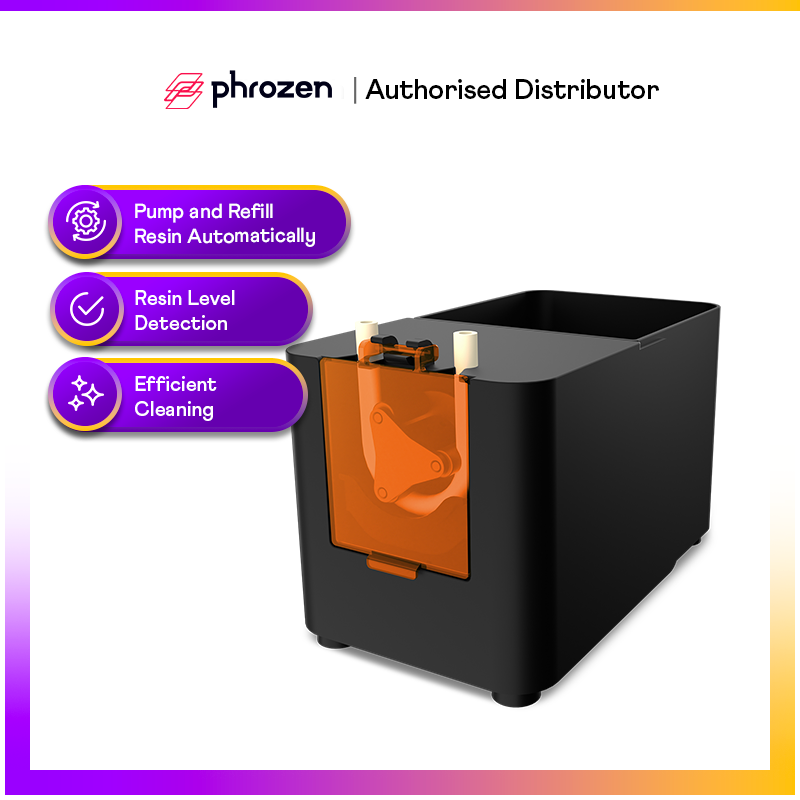
The Phrozen Pump Fill Automated Resin Feeder is a convenient and efficient accessory designed to enhance the 3D printing experience for users of Phrozen LCD and DLP 3D printers.

Product Description
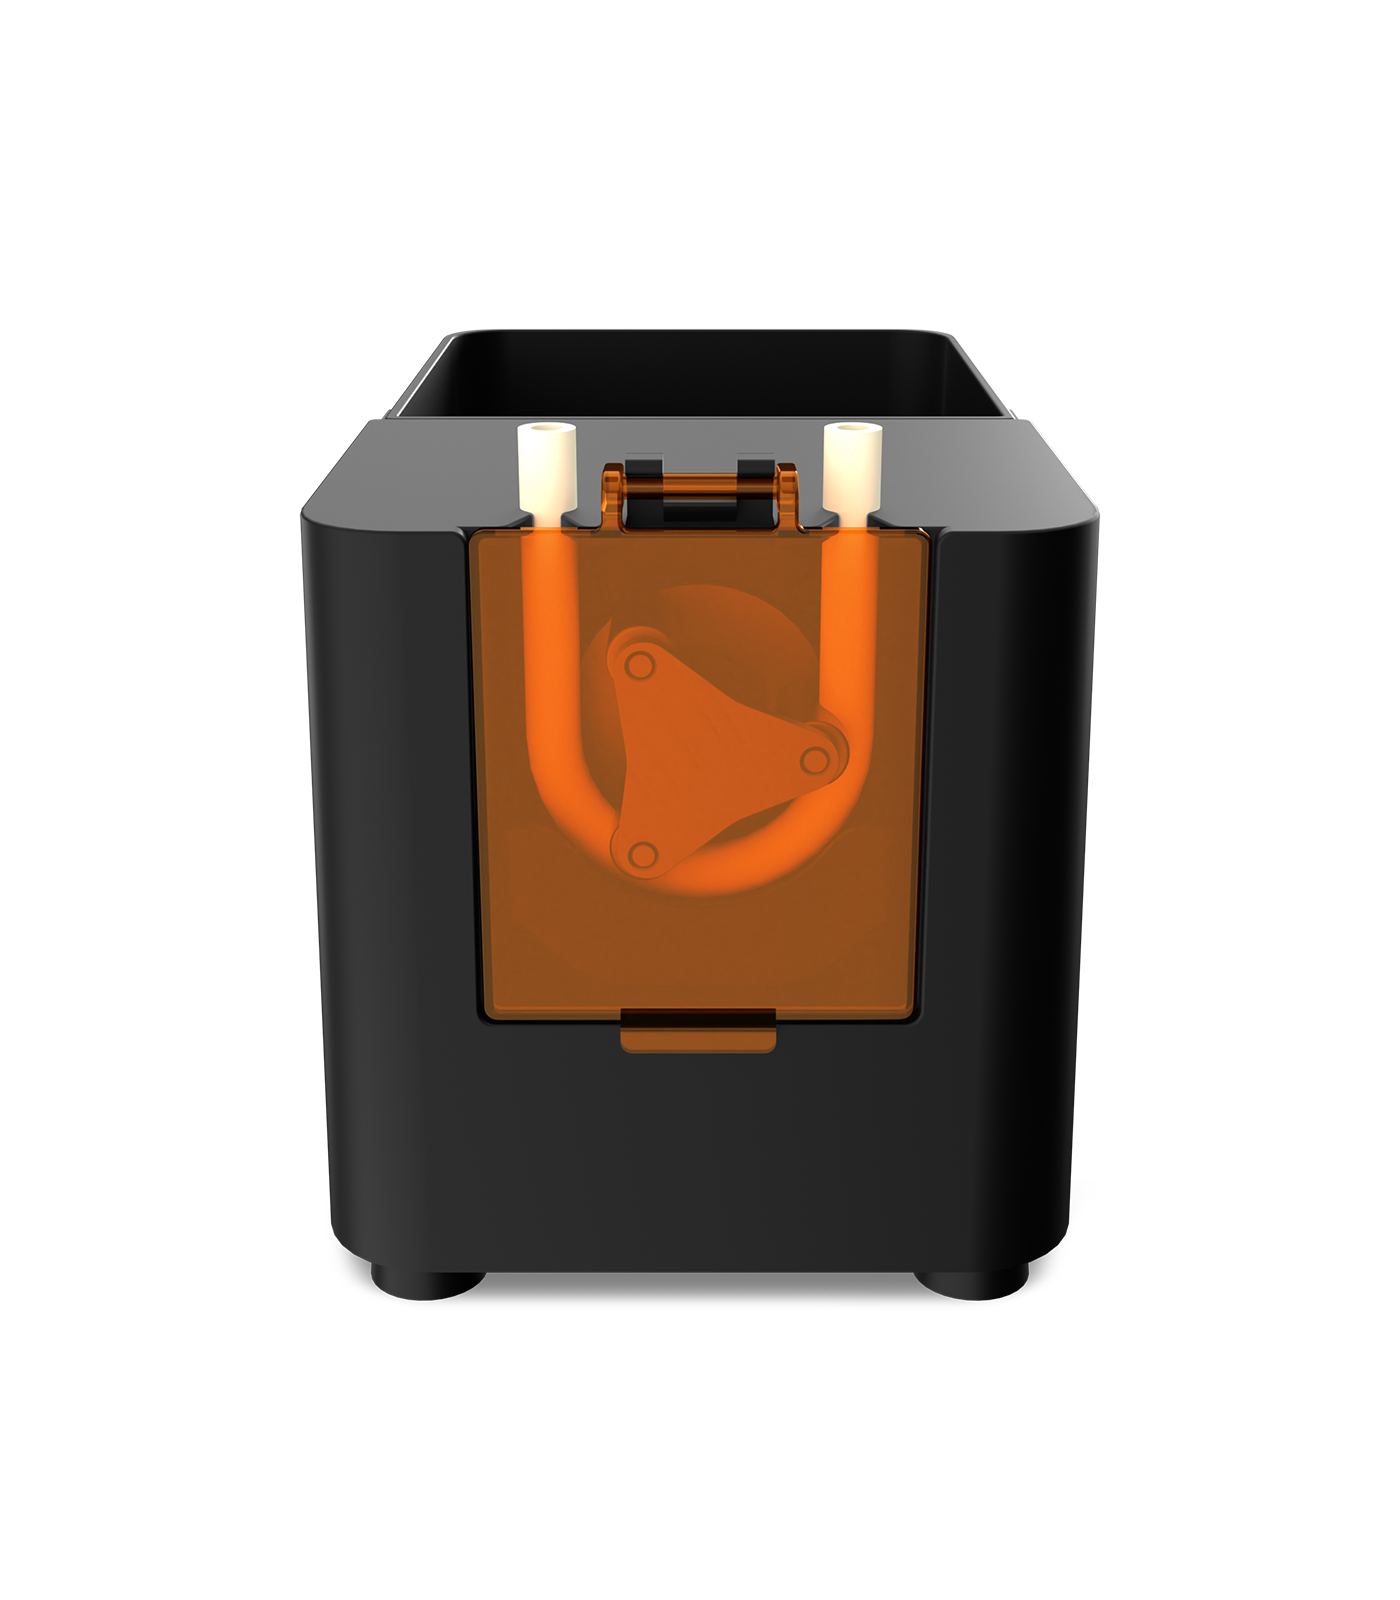
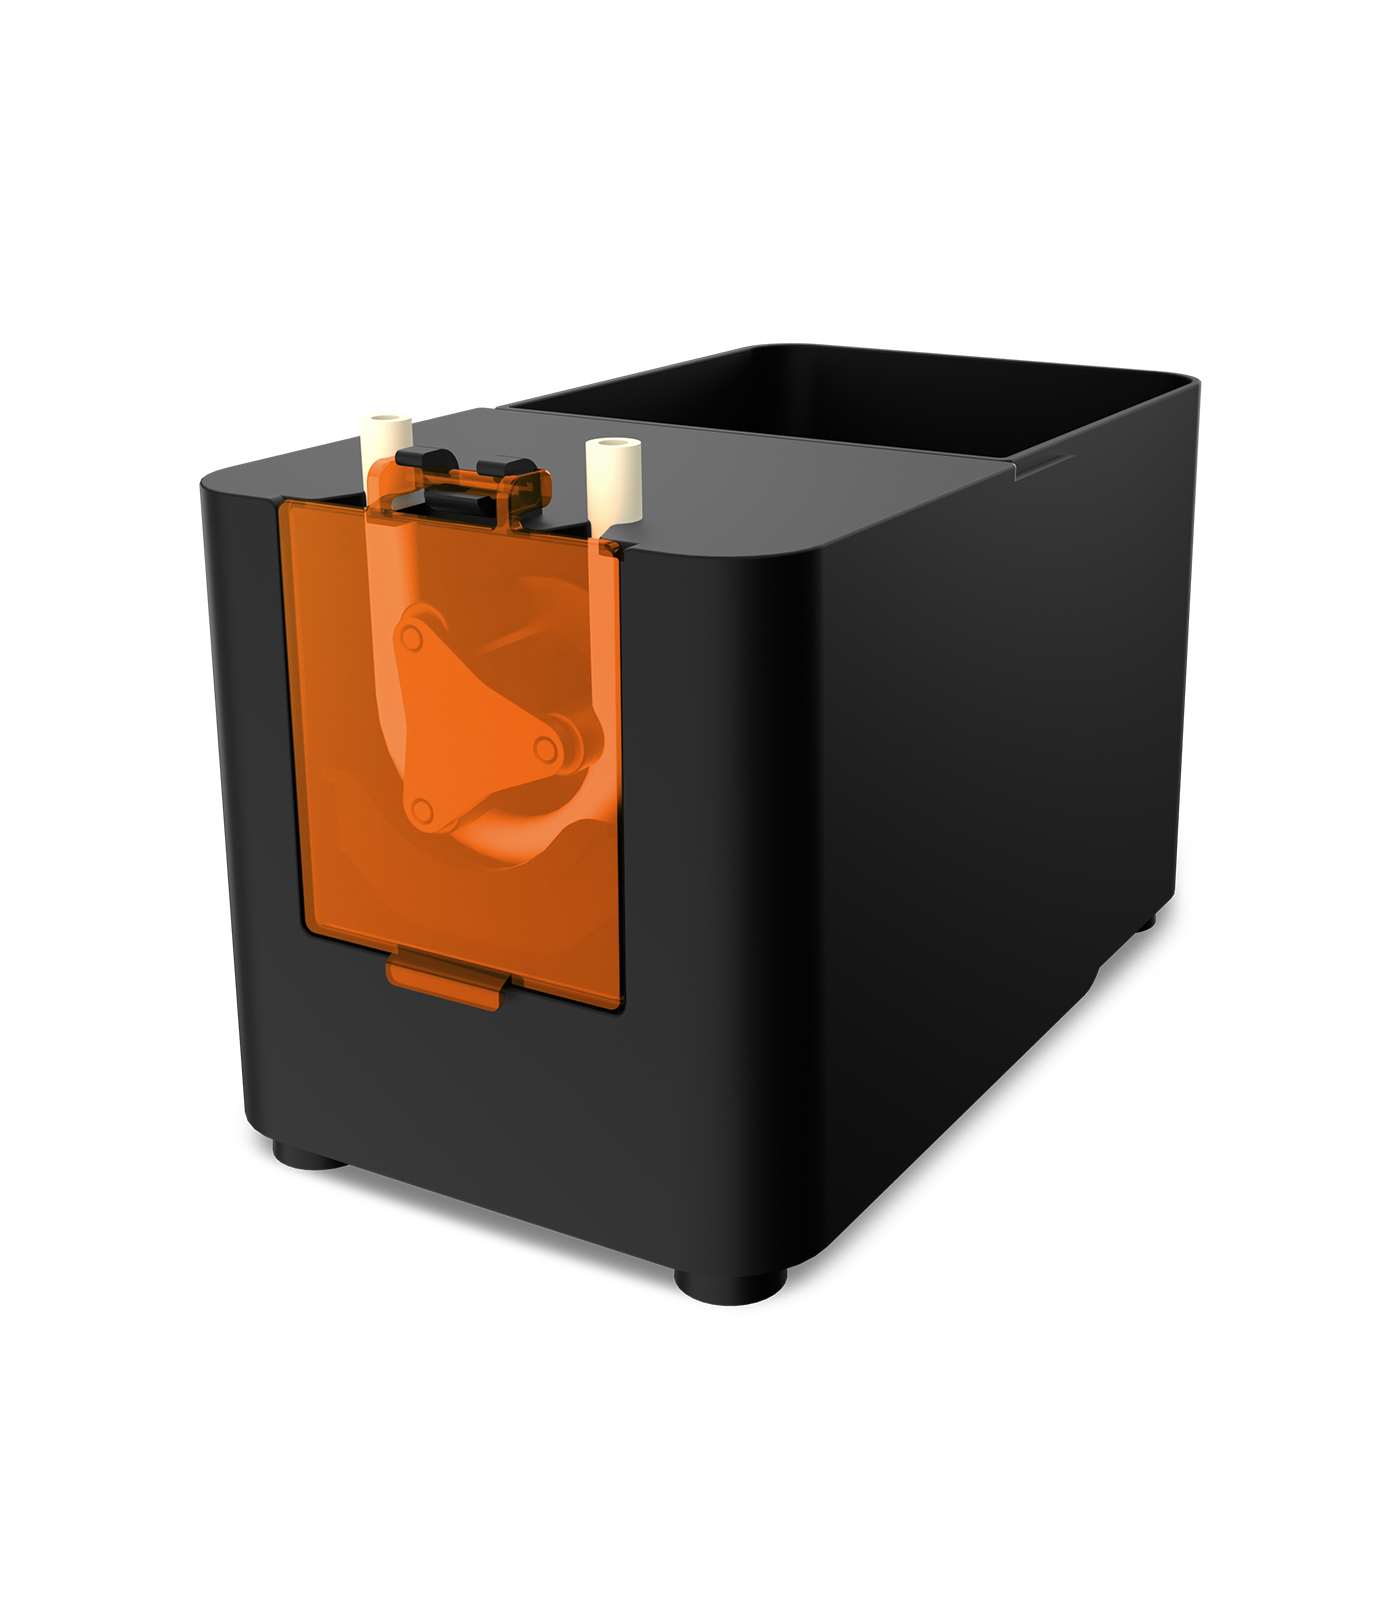
Introducing the Pump & Fill - Automated Resin Feeder (Add-On): Easily automate resin refills, detecting and replenishing low levels. Streamline cleanup by pumping back excess resin after printing. Enjoy auto-fill and auto-pump functionalities, catering to efficient resin management. Compatible with bottles up to 210mm in height and 90mm in diameter. Keep your system running smoothly by replacing the peristaltic tube every 6 months.
*Only compatible with Sonic Mega 8K S.
[Benefits]
- Resin Auto-Fill Function: The printer has an automatic resin fill function that adds resin mid-prints when the sensor detects that the vat is running low. This ensures that you always have enough resin and eliminates the risk of prints failing due to insufficient resin.
- Resin Auto-Pump Function: After finishing a print, the printer automatically sucks the leftover resin back into the bottle. This makes it easier and safer for you to clean the vat.
- Immediate Resin Pump: If you want to clean the vat manually, you can turn on the suction feature to immediately pump out the resin.
[How to install]
1. Remove the baffle on the side of the Phrozen Sonic Mega 8K S 3D printer and use an Allen wrench to loosen the screws on the machine's surface panel.
2. Pass the inlet hose through the hole on the side of the printer, accessible by removing the baffle.
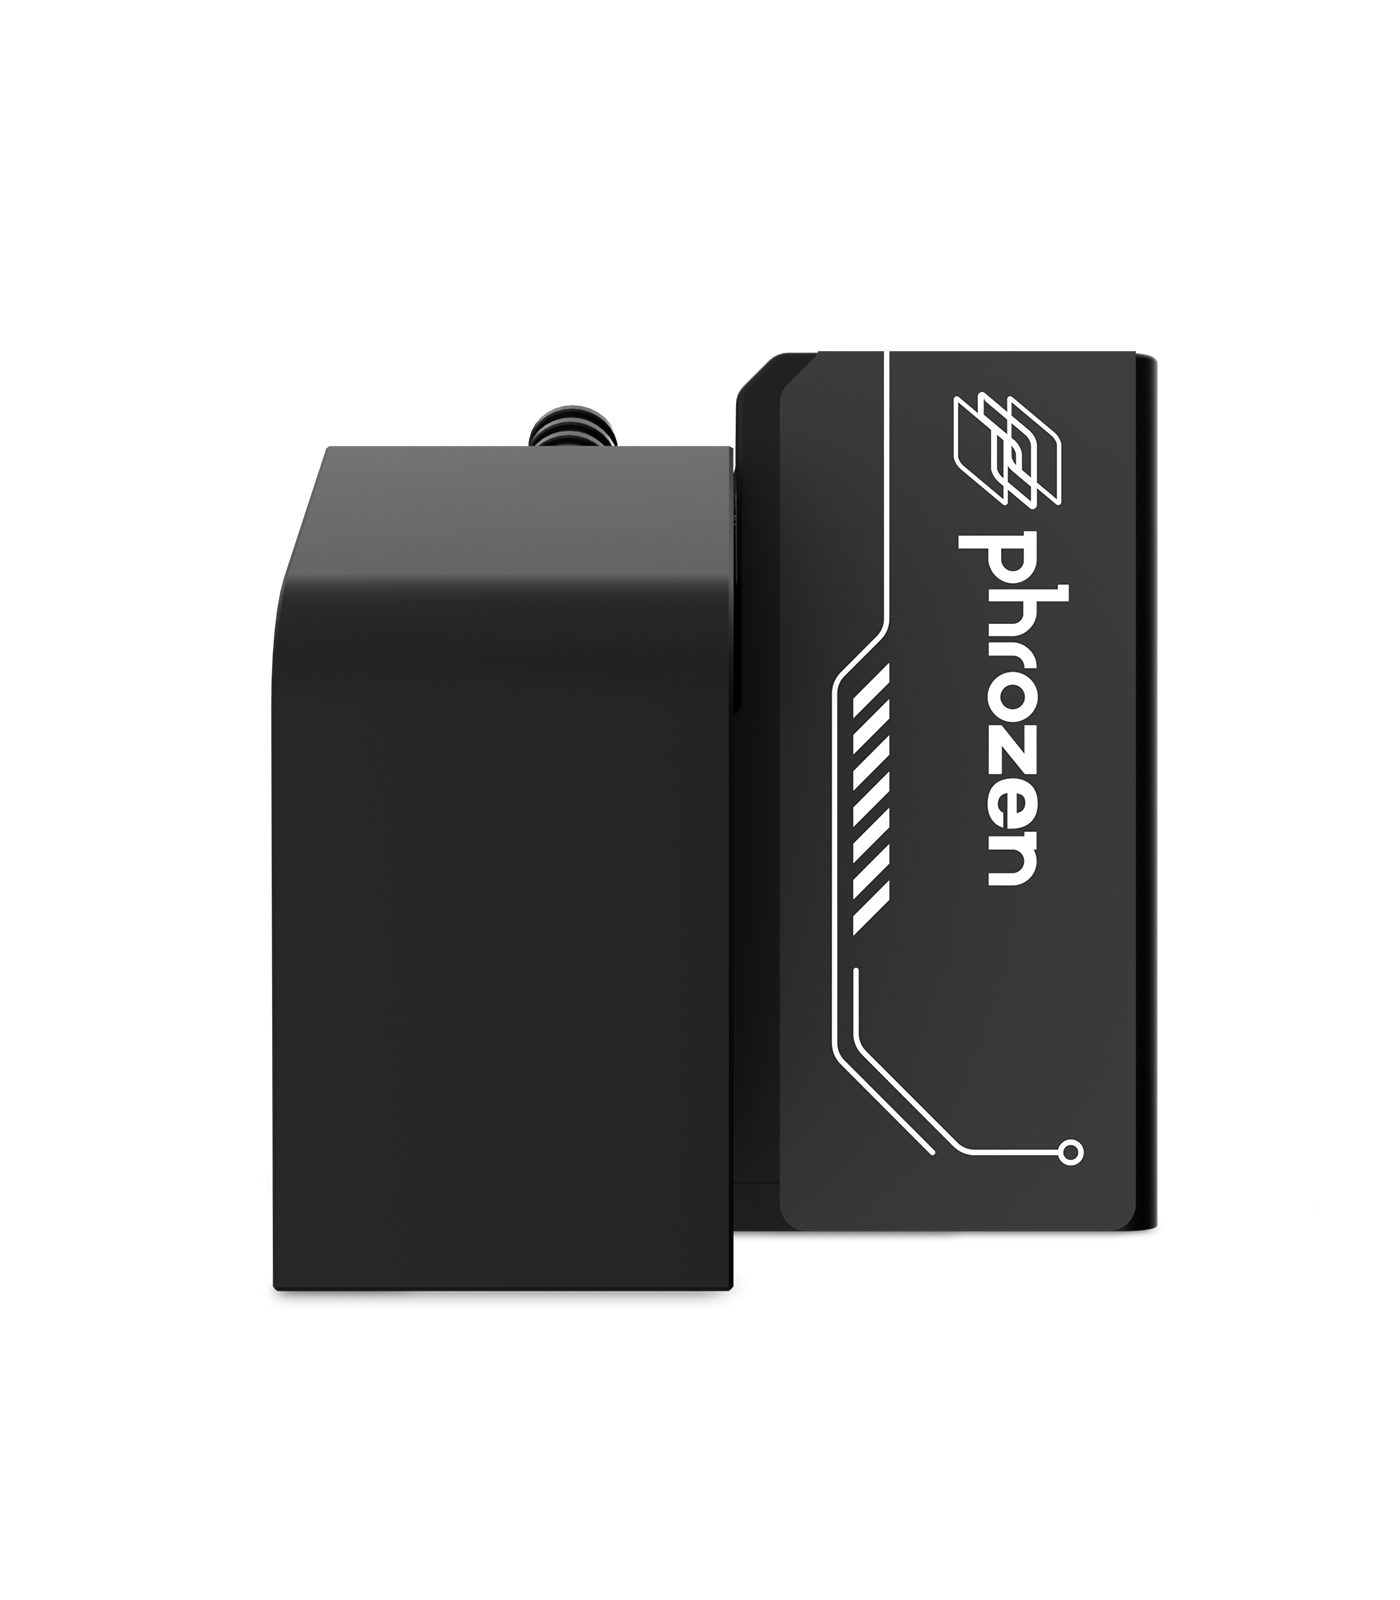
3. Using the screws removed earlier, place and secure the inlet pump onto the surface panel of the printer. Insert both the servo cable and sensor cable into the machine through the hole in the printer's surface panel. Use the Allen wrench to remove the side cover of the printer.
4. Connect the servo cable and sensor cable to the printer's mainboard, ensuring they are connected to their respective color-coded slots. Then, reattach the side cover that was removed.
5. Place the pump lid into the resin bottle, and then insert the resin bottle into the designated slot on the pump case. Secure the bottle and insert the bottle cap infusion tube into the peristaltic tube located on the left side of the pump case.
6. Connect the two ends of the lid data cable. Connect one end to the pump lid and the other end to the pump case. Insert the inlet hose into the peristaltic tube located on the right side of the pump case.
7. To complete the installation process, connect the pump data cable to the hole on the left rear side of the printer and the slot on the rear side of the pump case.
*Prices are subjected to change without notice.
*Local Distributor Warranty.
Specifications
Brand: Phrozen
Type: 3D Printers
Weight:
Dimension:
Shipping
Introducing the Pump & Fill - Automated Resin Feeder (Add-On): Easily automate resin refills, detecting and replenishing low levels. Streamline cleanup by pumping back excess resin after printing. Enjoy auto-fill and auto-pump functionalities, catering to efficient resin management. Compatible with bottles up to 210mm in height and 90mm in diameter. Keep your system running smoothly by replacing the peristaltic tube every 6 months.
*Only compatible with Sonic Mega 8K S.
[Benefits]
- Resin Auto-Fill Function: The printer has an automatic resin fill function that adds resin mid-prints when the sensor detects that the vat is running low. This ensures that you always have enough resin and eliminates the risk of prints failing due to insufficient resin.
- Resin Auto-Pump Function: After finishing a print, the printer automatically sucks the leftover resin back into the bottle. This makes it easier and safer for you to clean the vat.
- Immediate Resin Pump: If you want to clean the vat manually, you can turn on the suction feature to immediately pump out the resin.
[How to install]
1. Remove the baffle on the side of the Phrozen Sonic Mega 8K S 3D printer and use an Allen wrench to loosen the screws on the machine's surface panel.
2. Pass the inlet hose through the hole on the side of the printer, accessible by removing the baffle.
3. Using the screws removed earlier, place and secure the inlet pump onto the surface panel of the printer. Insert both the servo cable and sensor cable into the machine through the hole in the printer's surface panel. Use the Allen wrench to remove the side cover of the printer.
4. Connect the servo cable and sensor cable to the printer's mainboard, ensuring they are connected to their respective color-coded slots. Then, reattach the side cover that was removed.
5. Place the pump lid into the resin bottle, and then insert the resin bottle into the designated slot on the pump case. Secure the bottle and insert the bottle cap infusion tube into the peristaltic tube located on the left side of the pump case.
6. Connect the two ends of the lid data cable. Connect one end to the pump lid and the other end to the pump case. Insert the inlet hose into the peristaltic tube located on the right side of the pump case.
7. To complete the installation process, connect the pump data cable to the hole on the left rear side of the printer and the slot on the rear side of the pump case.
*Prices are subjected to change without notice.
*Local Distributor Warranty.
Brand: Phrozen
Type: 3D Printers
Weight:
Dimension:
This product has no reviews yet.
You may also like
Contact Us
Do you have any questions?
We’re here to help! Get in touch with us at ecom_admin@myrepublic.net.
Secure payment
All payments are processed securely through 2C2P, our trusted online payment gateway.

